I Built an $8,000 Golf Simulator in My Basement
Full build guide: Carl's Place built-in room kit, Garmin Approach R50, SynPro turf, Ex Tee hitting strip, slat wall, and LED lighting. Every dollar documented.
Complete Build Guide: Carl’s Place Built-In Room Kit Featuring Garmin Approach R50, SynPro Turf, EZ Tee Hybrid Hitting Strip, Custom Slat Wall, and LED Lighting. Every Expense Fully Documented. No Shortcuts, No Hidden Costs.
The Starting Point
I had a bonus room in my basement that was going unused. It measured about 20 feet deep, 14 feet wide, with just under 9 feet of ceiling height. While it served well as a storage space, it had the potential to become a golf simulator.
As a business analyst, I approach every purchase with careful planning. Before buying anything, I create a detailed spreadsheet. I spent two weeks researching—pricing every component, reading countless forum threads, and watching hours of build videos—before ordering a single item. Here’s what I learned and how much I spent.
Phase 1: Framing the Enclosure
The first decision was choosing between a freestanding enclosure or a fully built-in setup. I opted for the built-in option for one main reason: resale value and aesthetics. A net in your basement just looks like a net in your basement. A Carl’s Place built-in room kit, on the other hand, looks like a professional simulator bay.
This meant framing was necessary. The kit attaches to both the wall and ceiling, so I needed a sturdy stud wall where none existed. If you’re not confident with basic framing, this is the point to call a friend or hire a professional—everything else in this build is much more DIY-friendly.
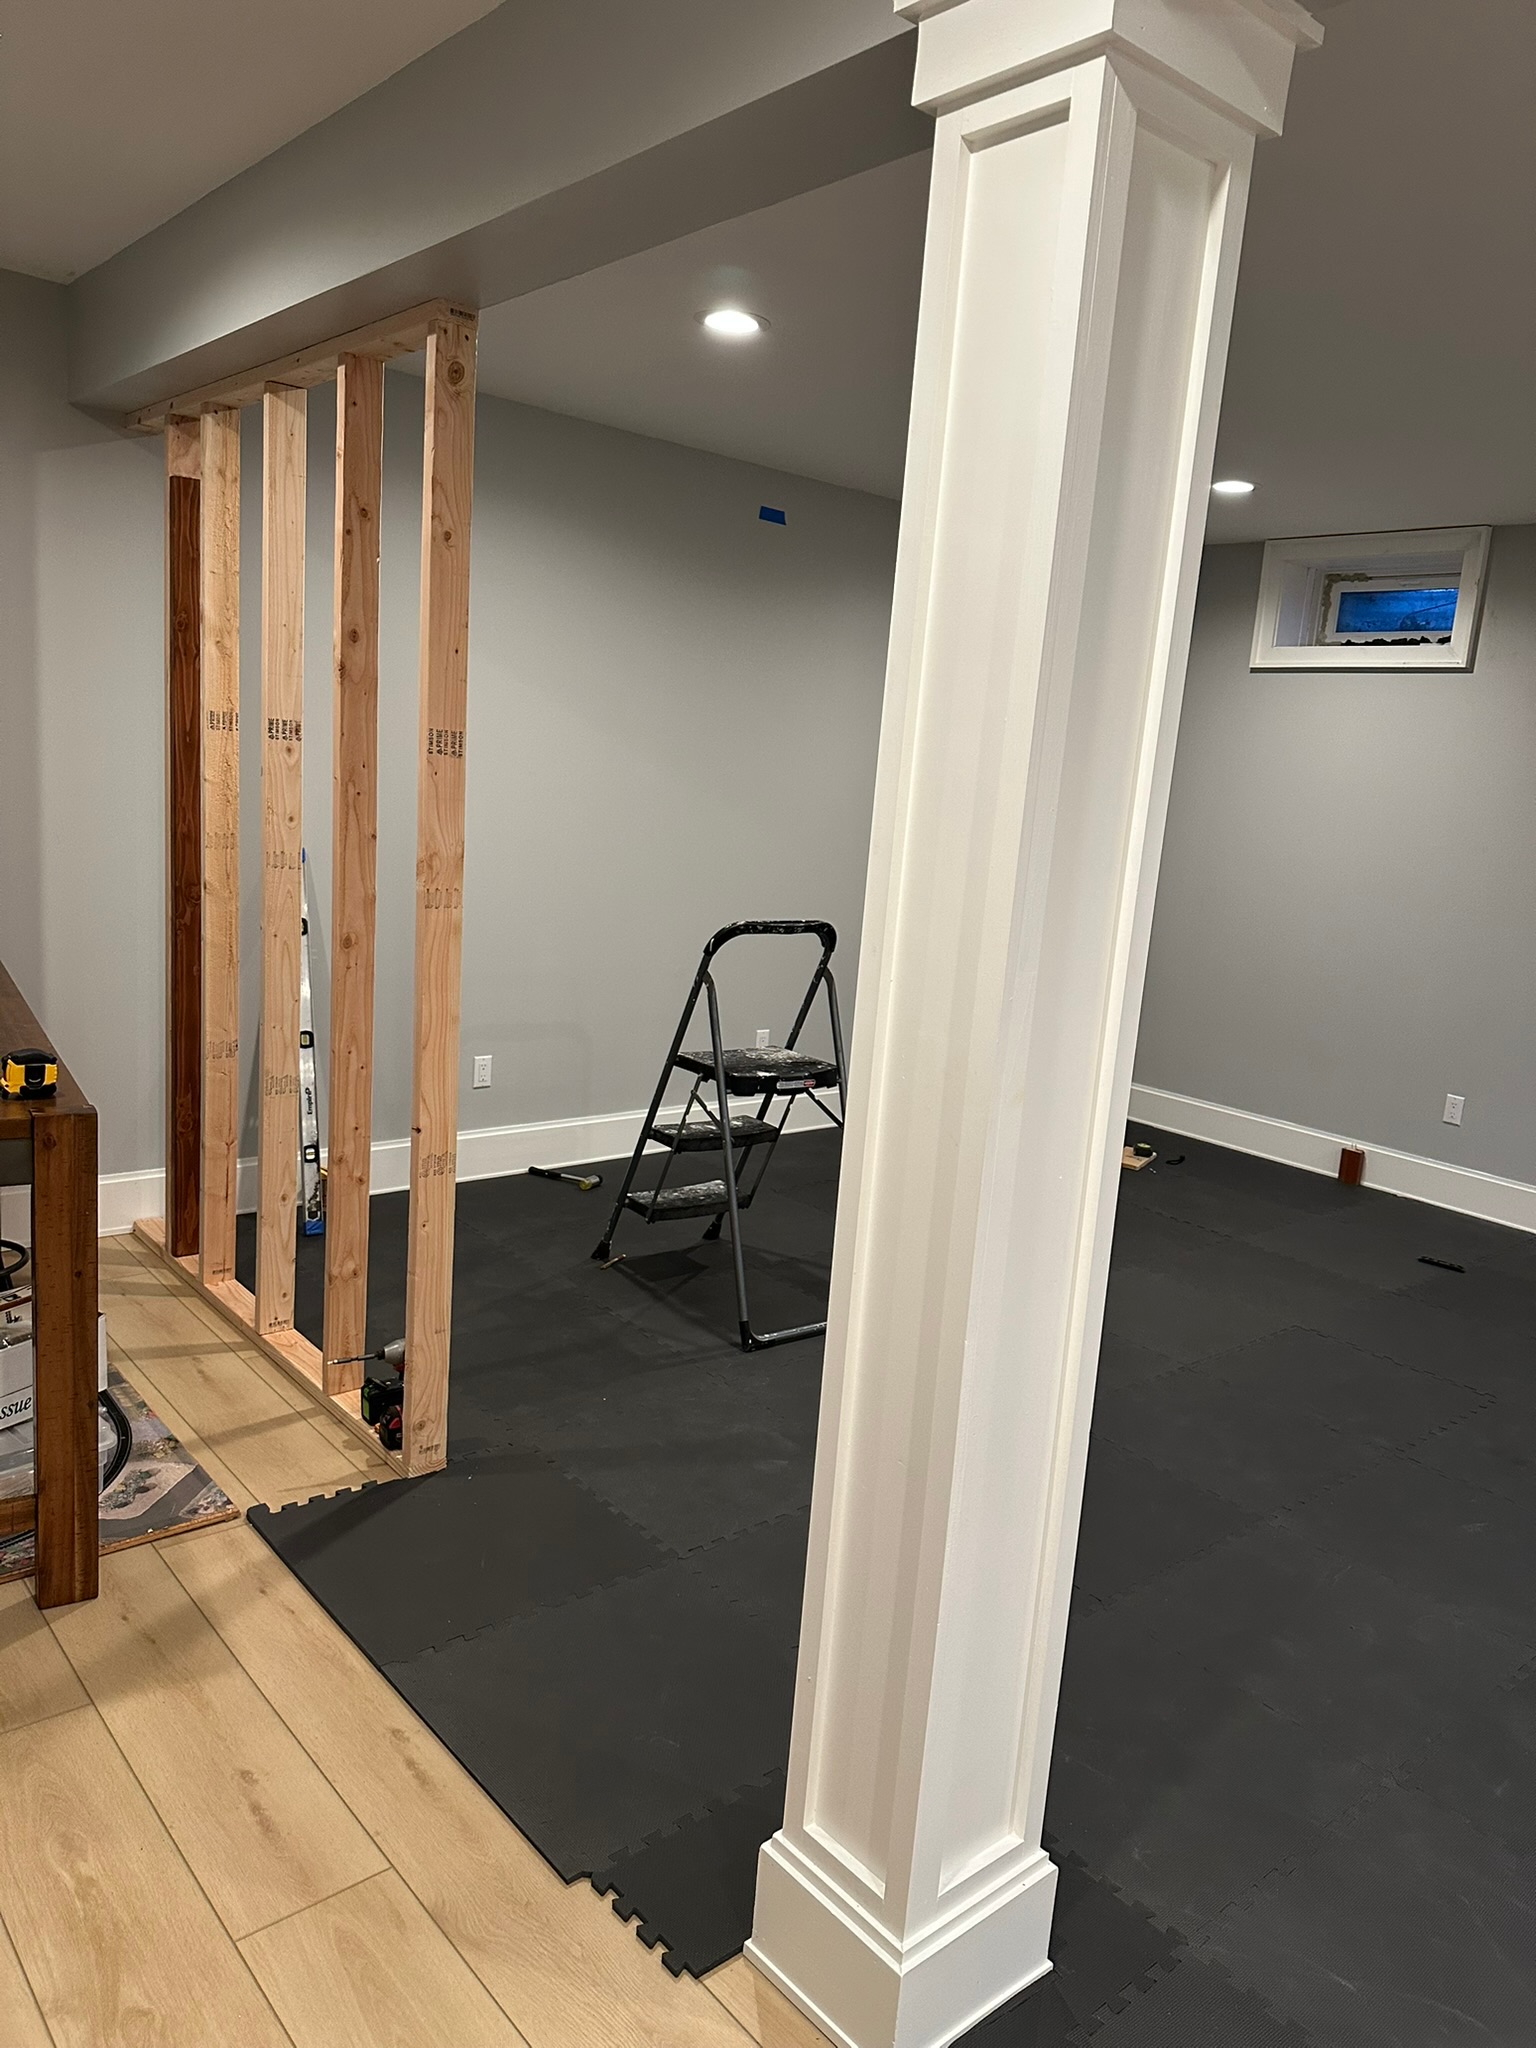
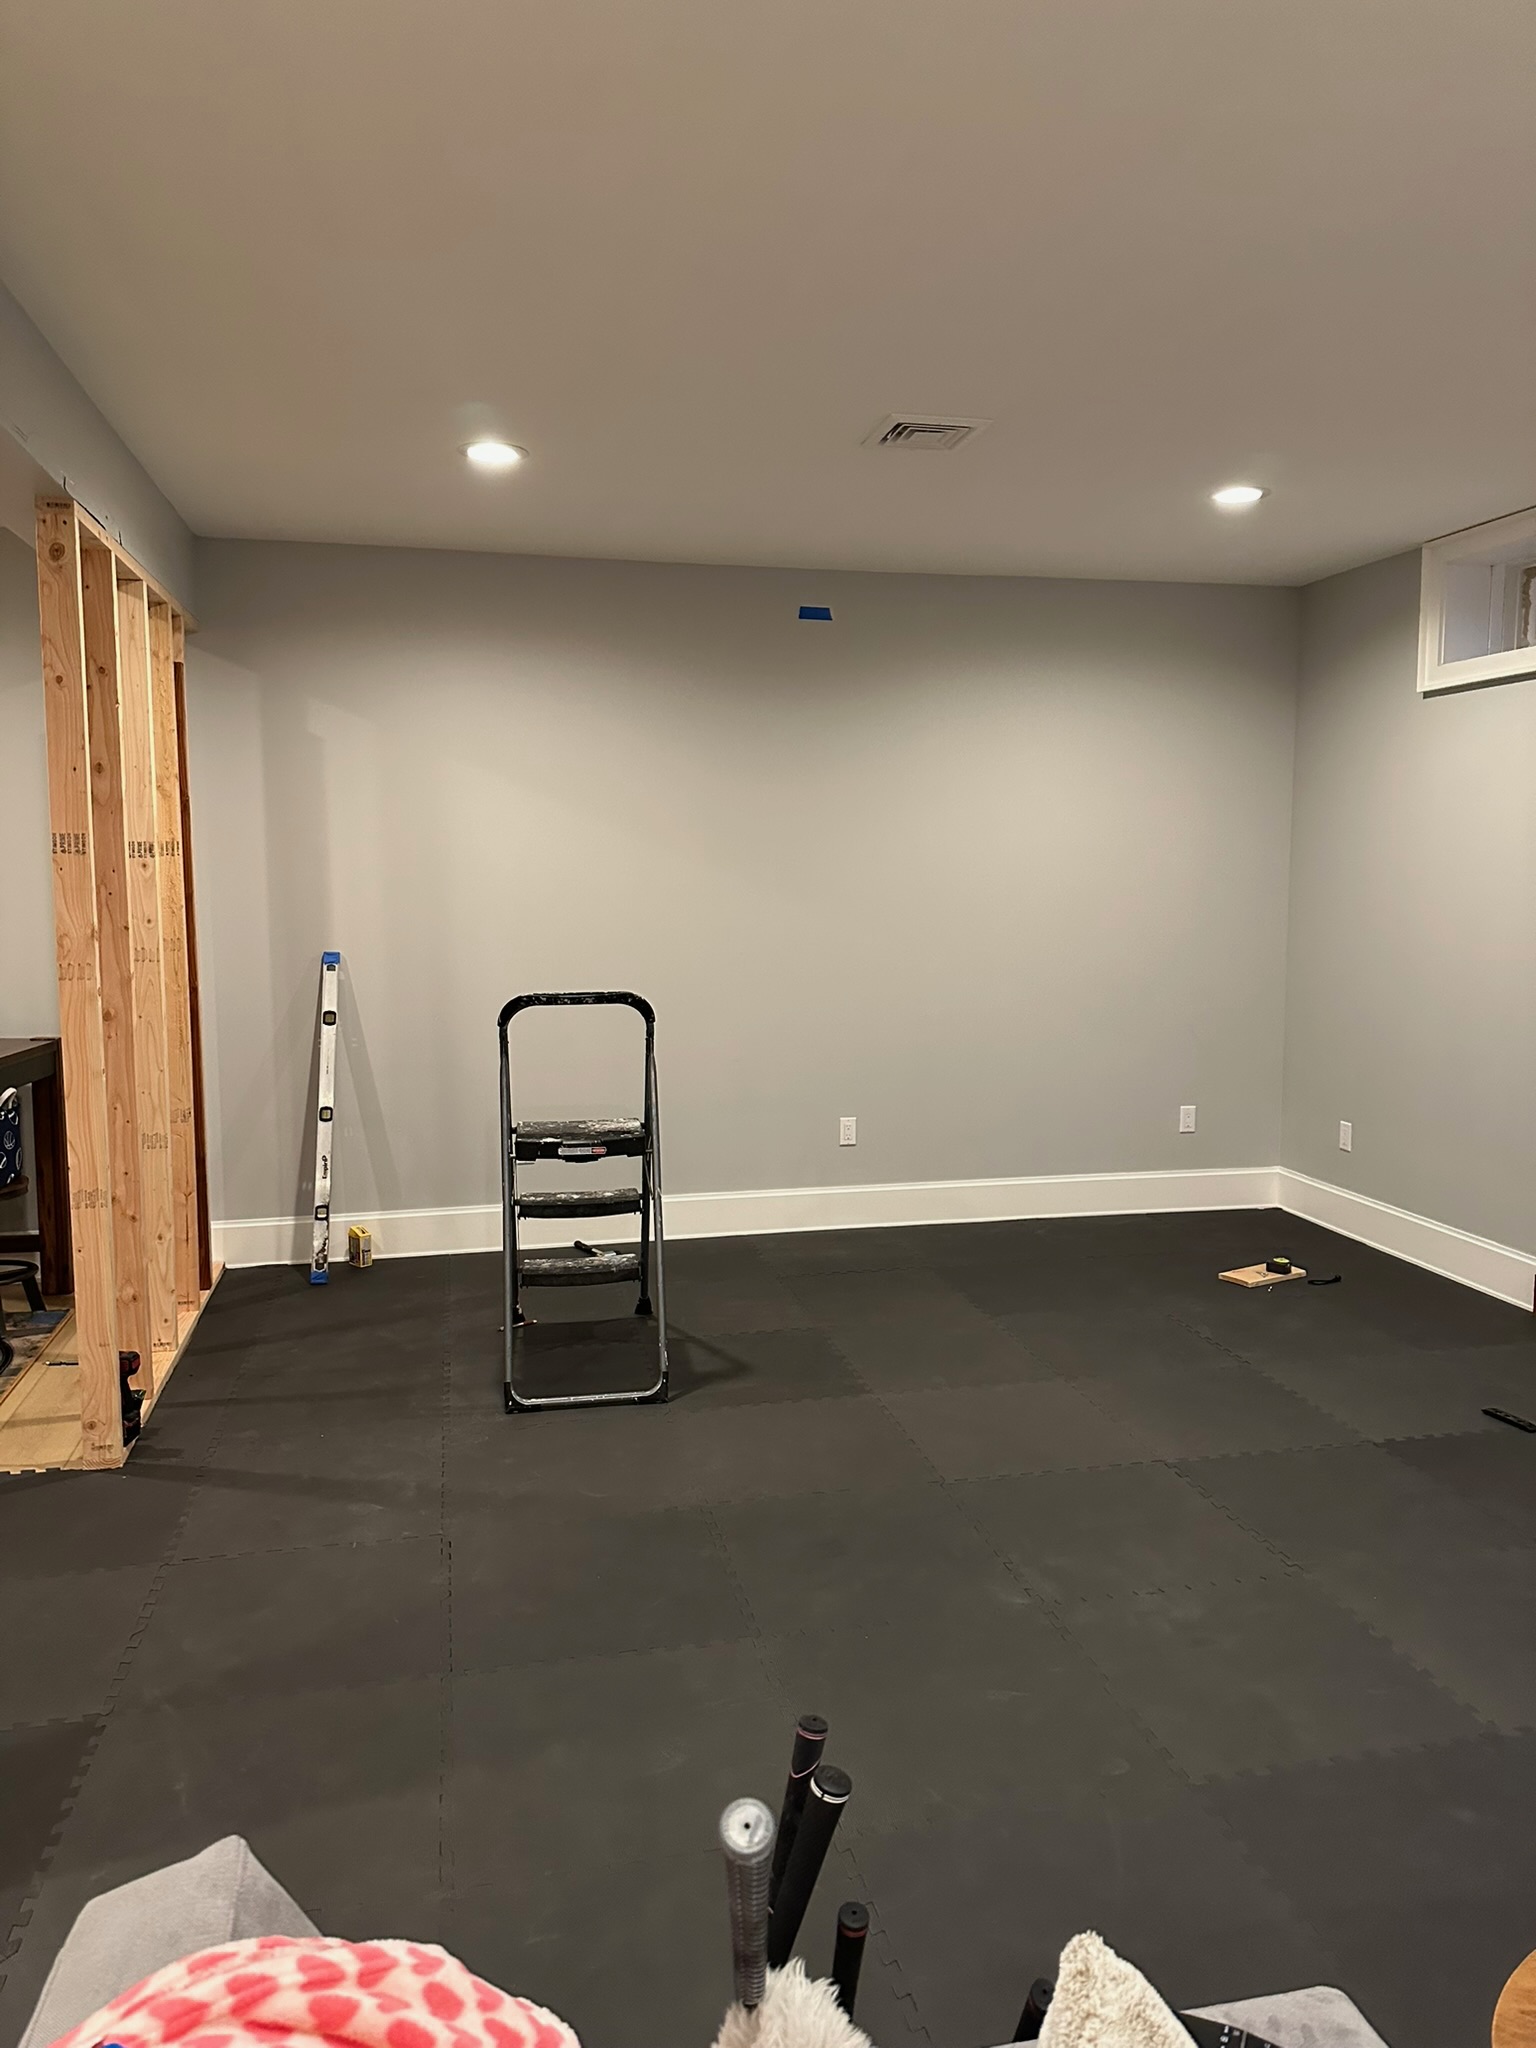
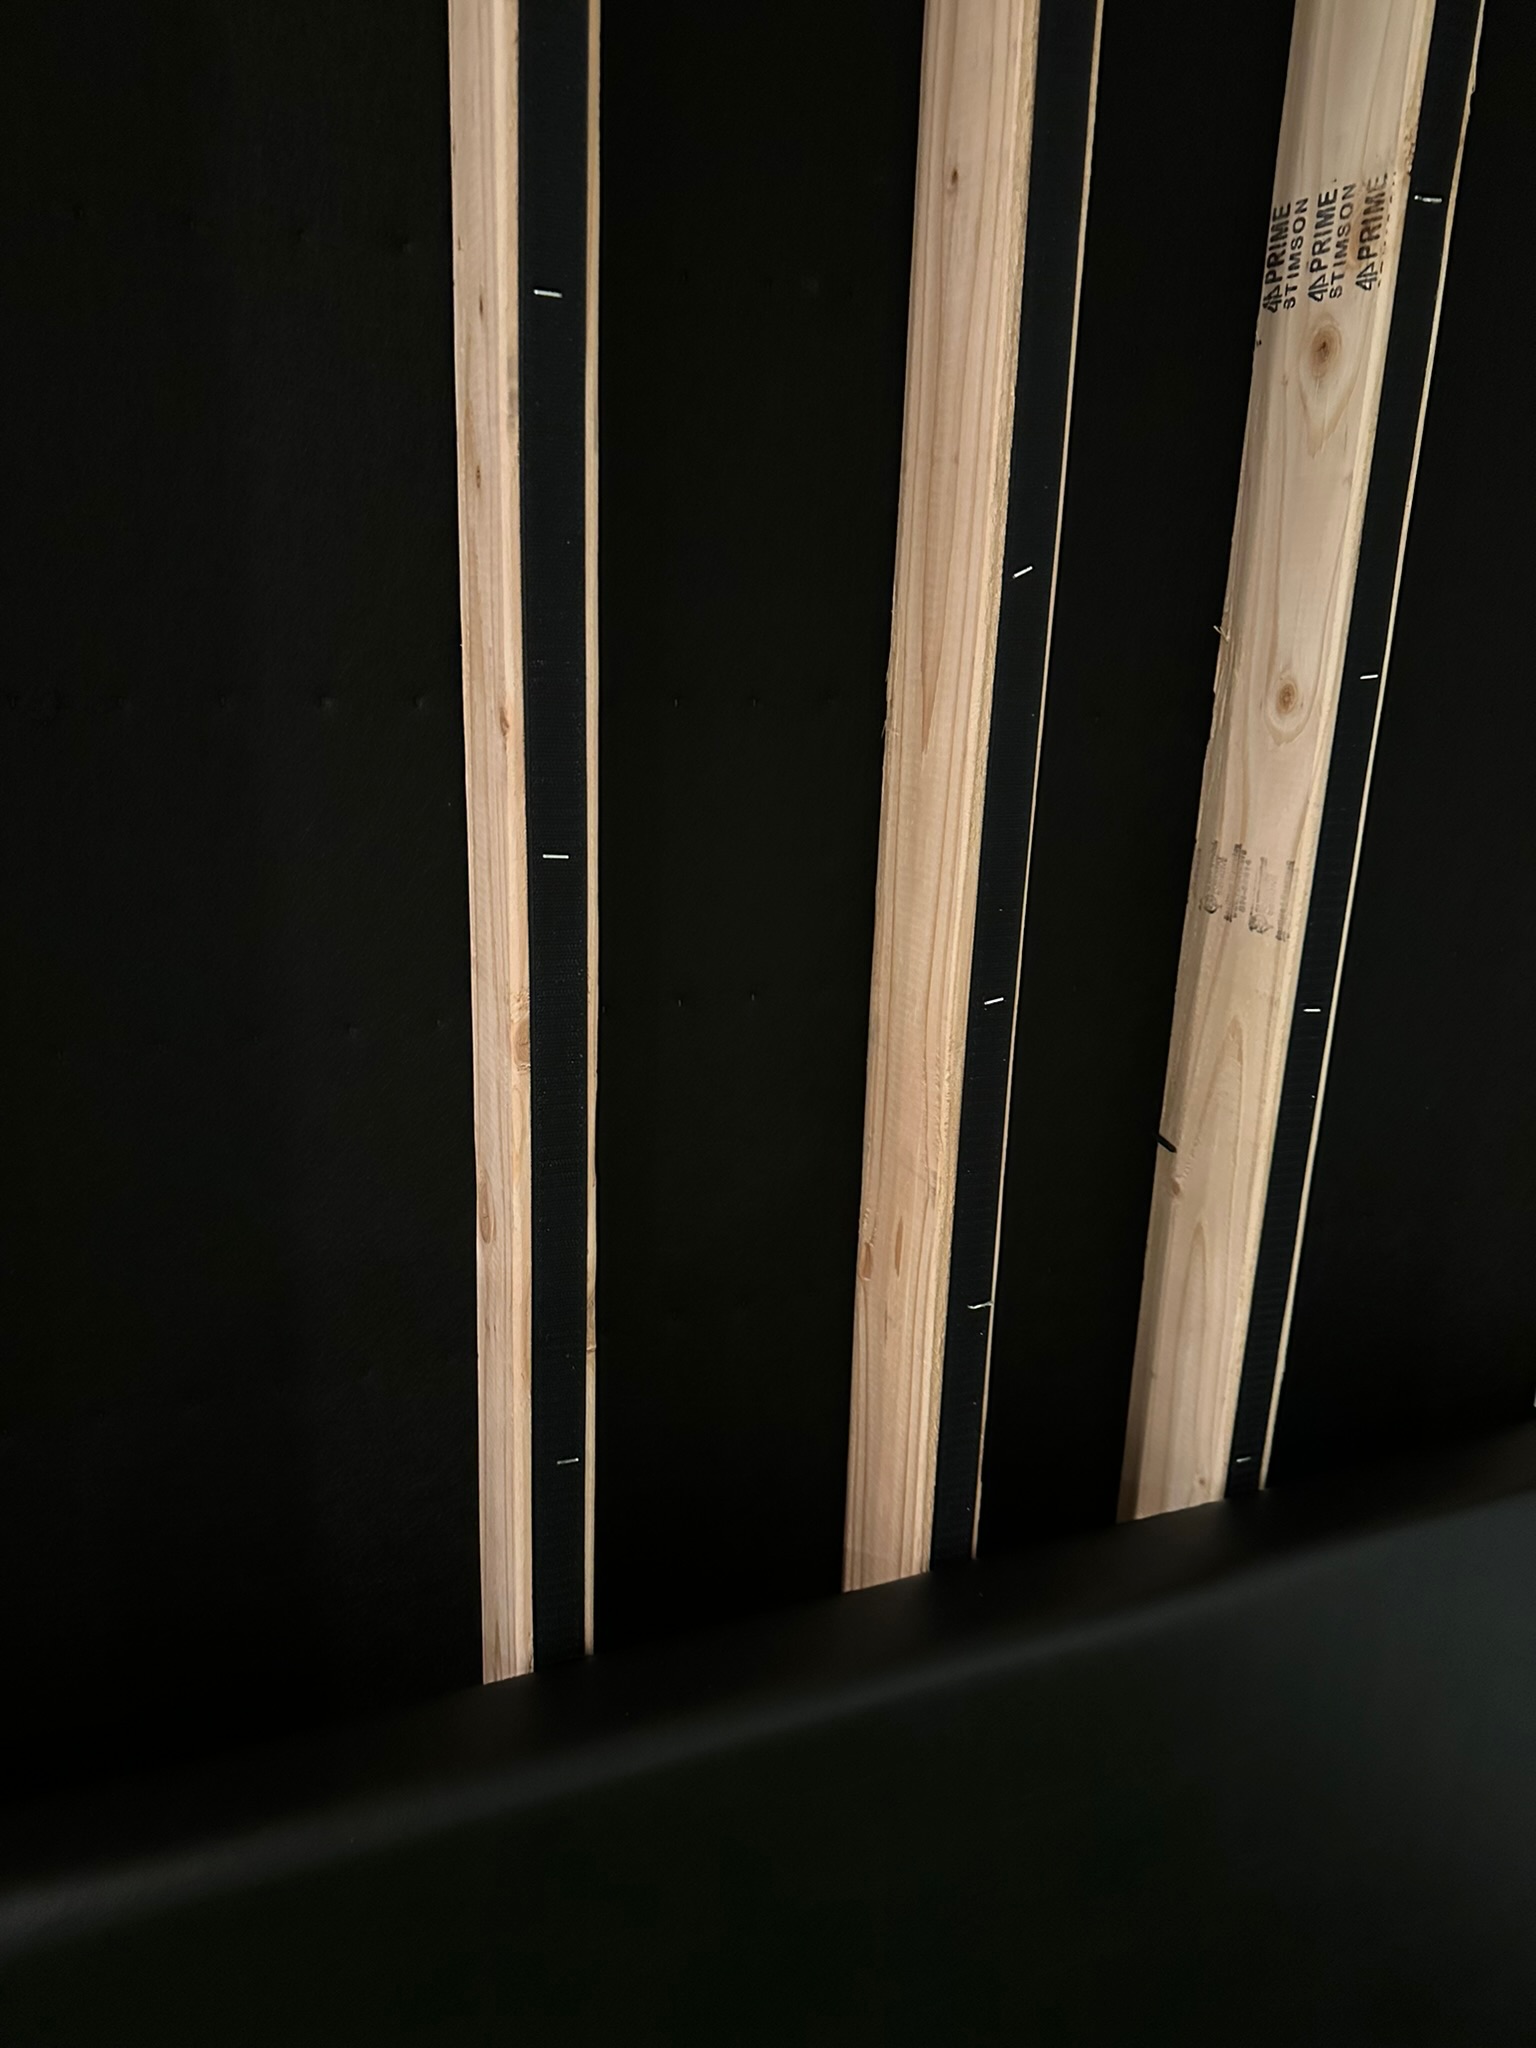
I framed a dividing wall to separate the simulator room from the rest of the basement. Standard 2×4 framing, 16 inches on center. Nothing complicated — just time-consuming. One afternoon.
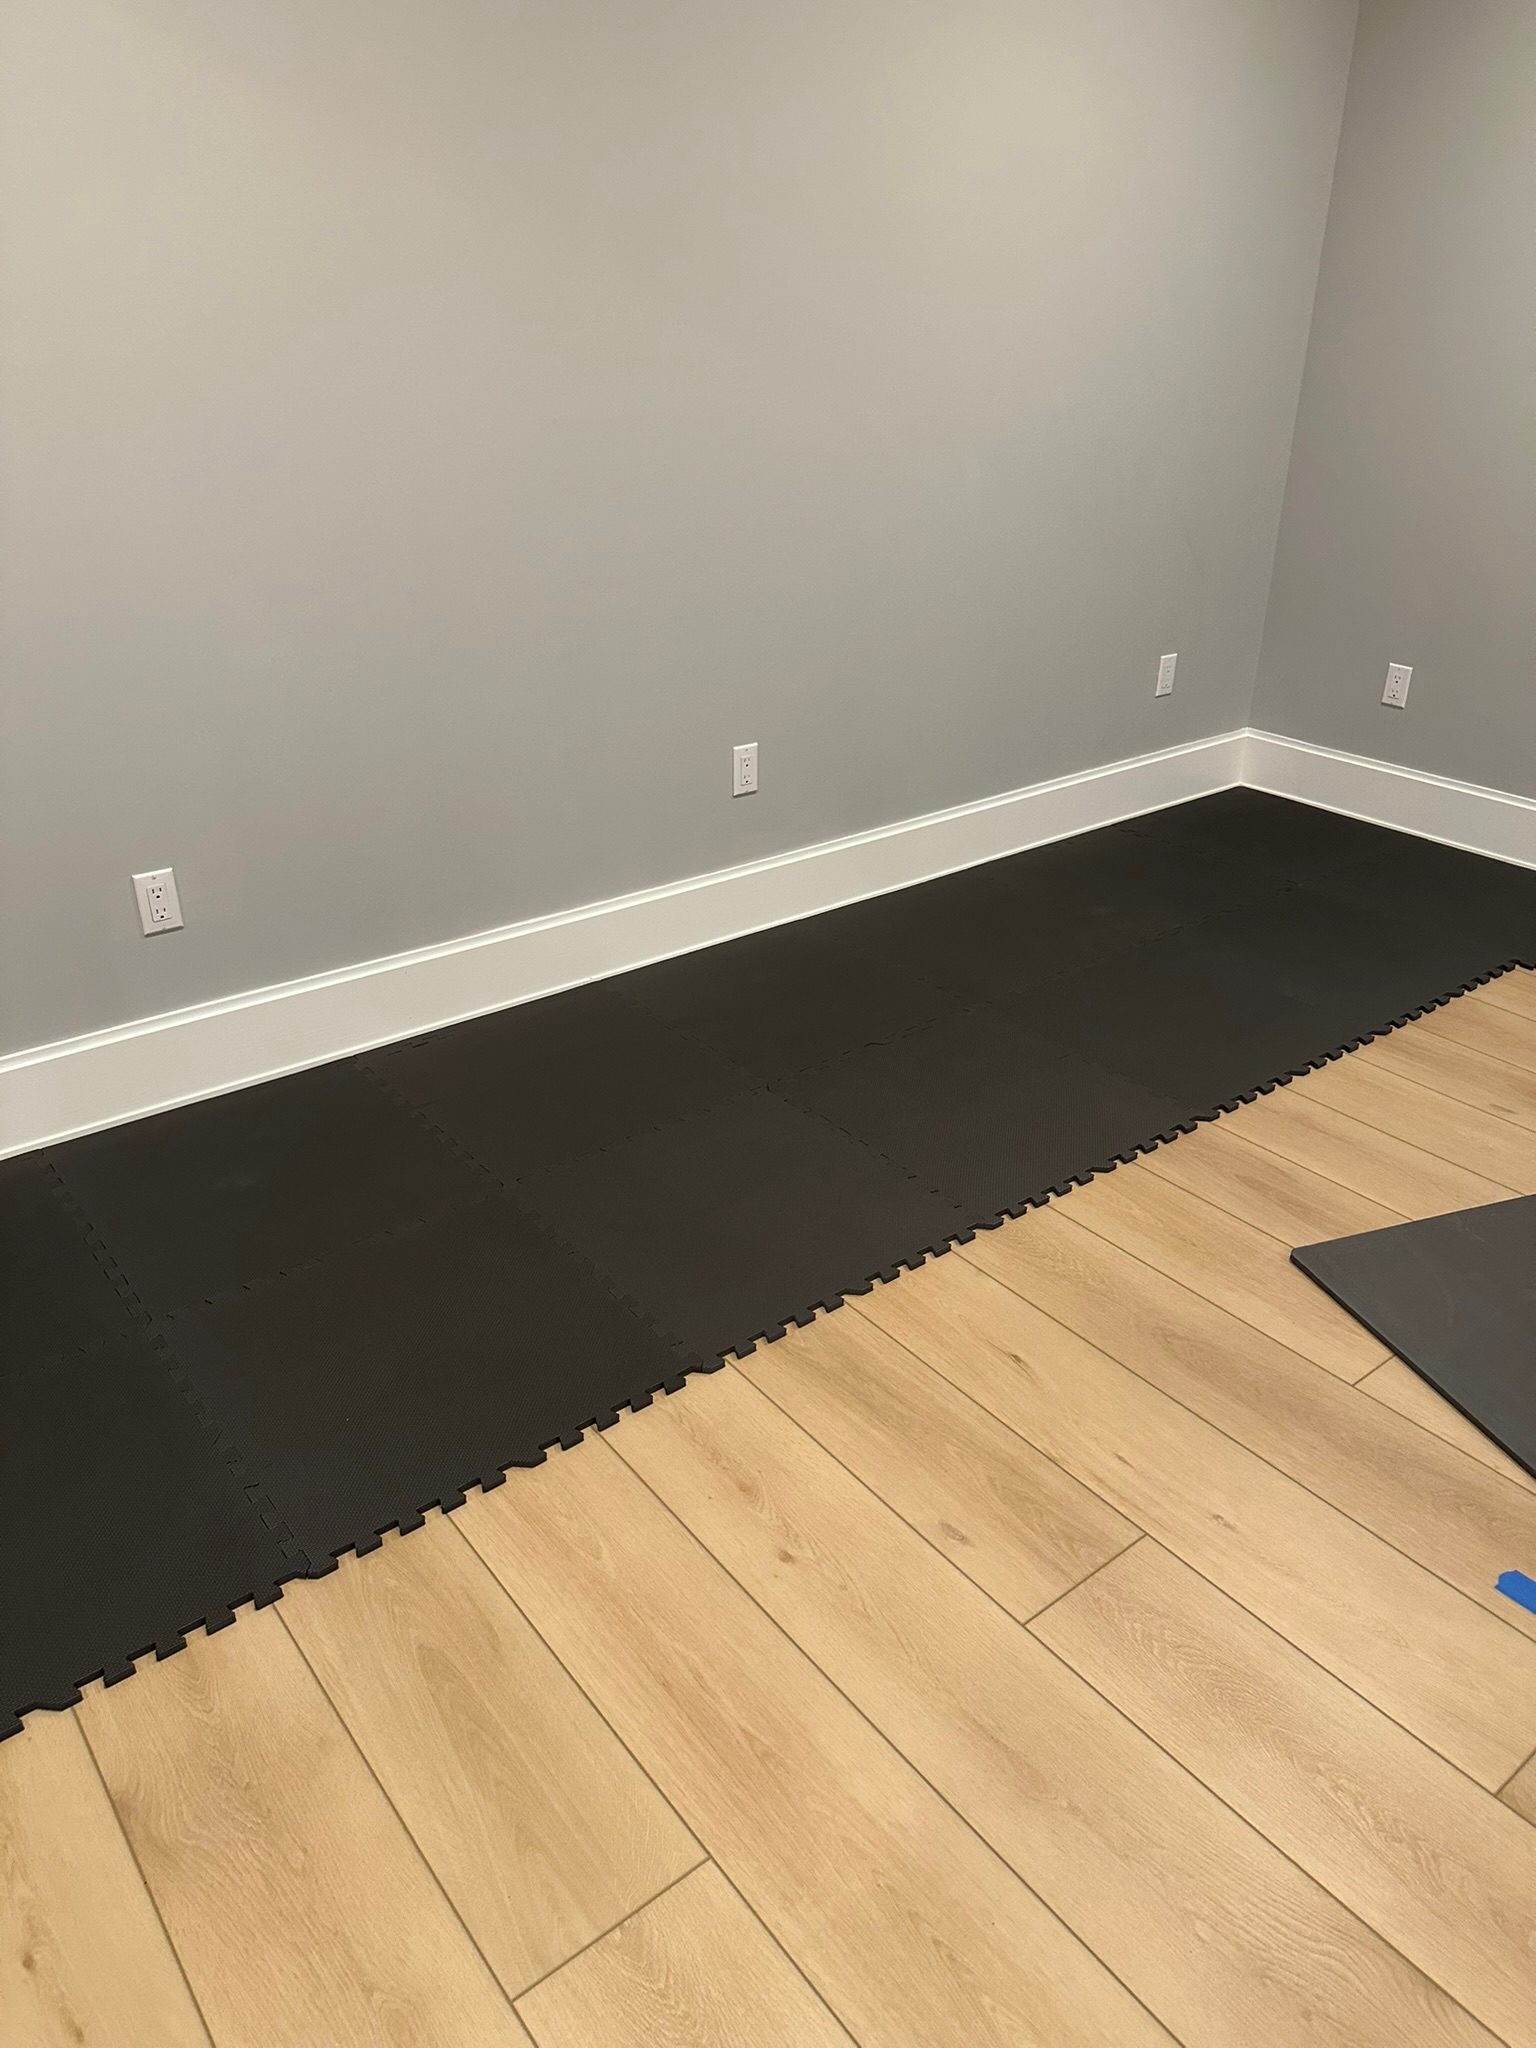
I used Harbor Freight 1/2″ Anti-Fatigue interlocking tiles. Super easy to install and cut to size at edges.
Pro tip: Measure your ceiling height three times before you order the Carl’s Place kit. The kits come in specific heights and the enclosure needs to fit. I had 8’10” of usable clearance – its tight for the 6′ 5″ golfer, but for us average guys, the ceiling height is more than enough.
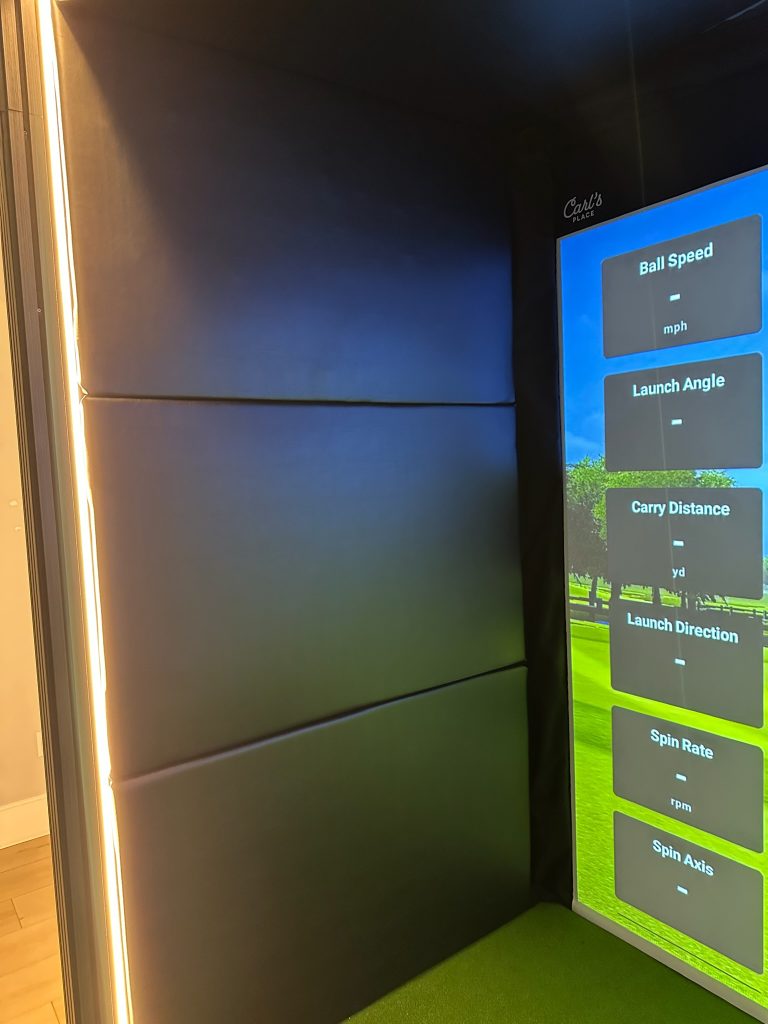
Phase 2: The Carl’s Place Built-In Room Kit
This is the centerpiece of the build. Carl’s Place makes the gold standard of golf simulator enclosures — the built-in room kit comes with the side baffles, the top baffle, the impact screen, and all the hardware. Nothing else on the market comes close for the price.
Setup involves mounting the cable brackets at the 4 corners, running the cable wire, and hanging the impact screen from the included bungee attachment system. It took me about 6 hours across a Saturday.
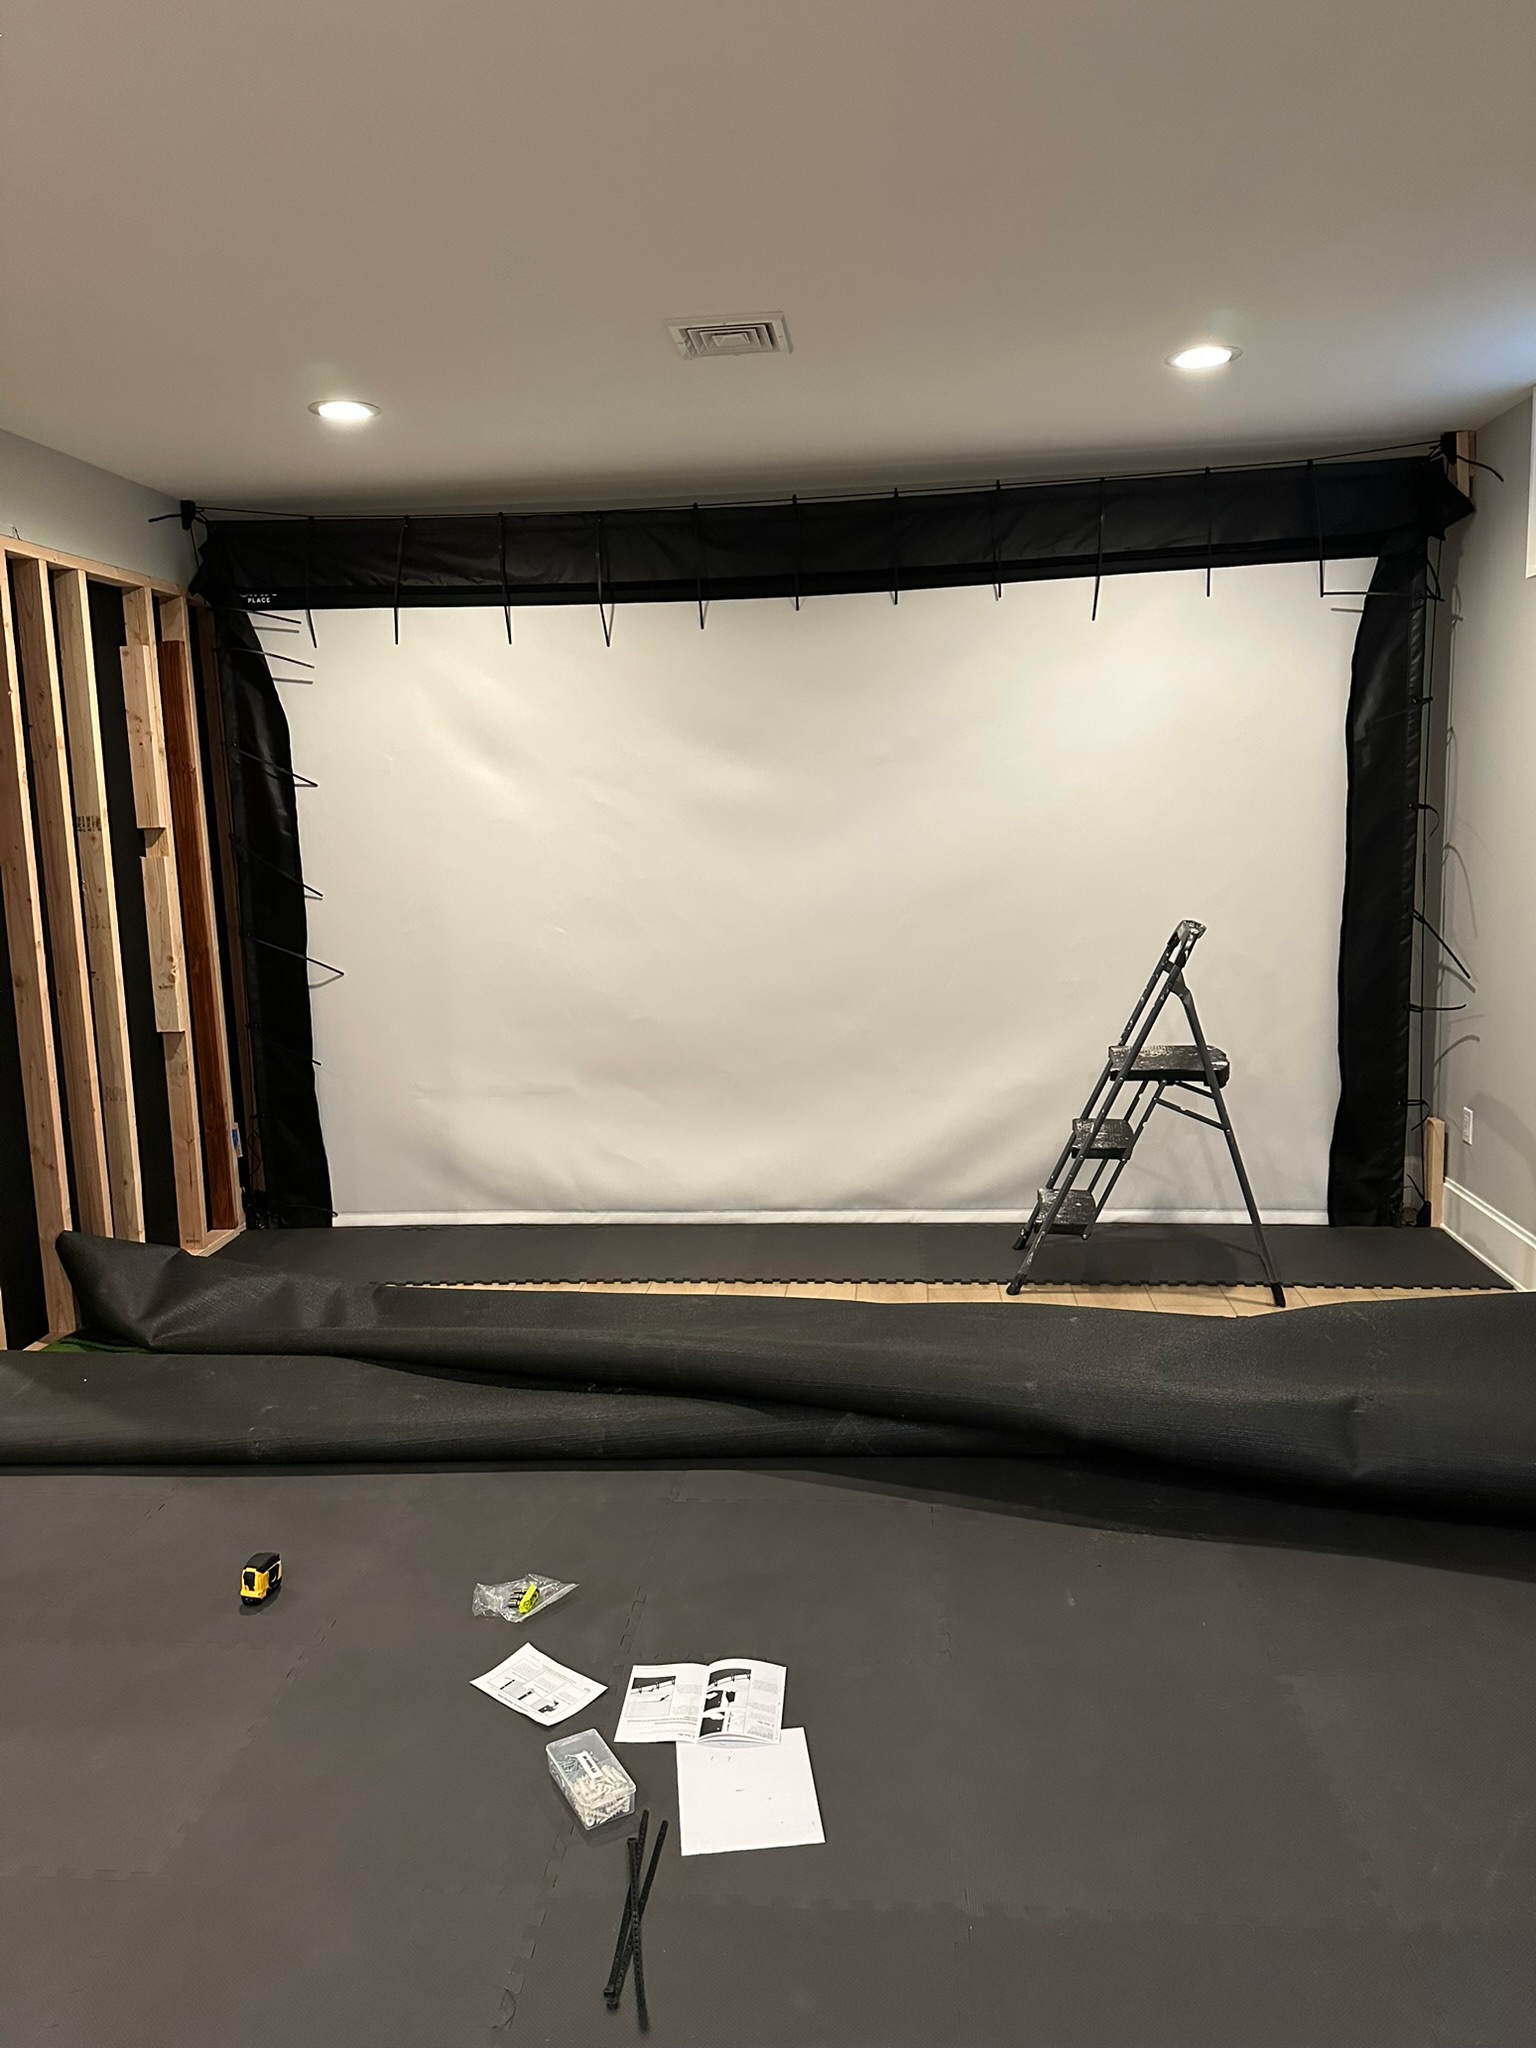
The impact screen hangs via bungees from the top track, which keeps it taut while still allowing it to absorb ball impact. This is critical — a rigid screen will take damage. The bungee system means the screen can give slightly on contact, which extends its life considerably.
What I’d do differently: When giving Carl’s measurements of your space, they have to be precise! I was off 3″ in the room width, and had to add another 2×4 before attaching the cable bracket. Otherwise, the screen would be too taught, tight, and potentially rip.
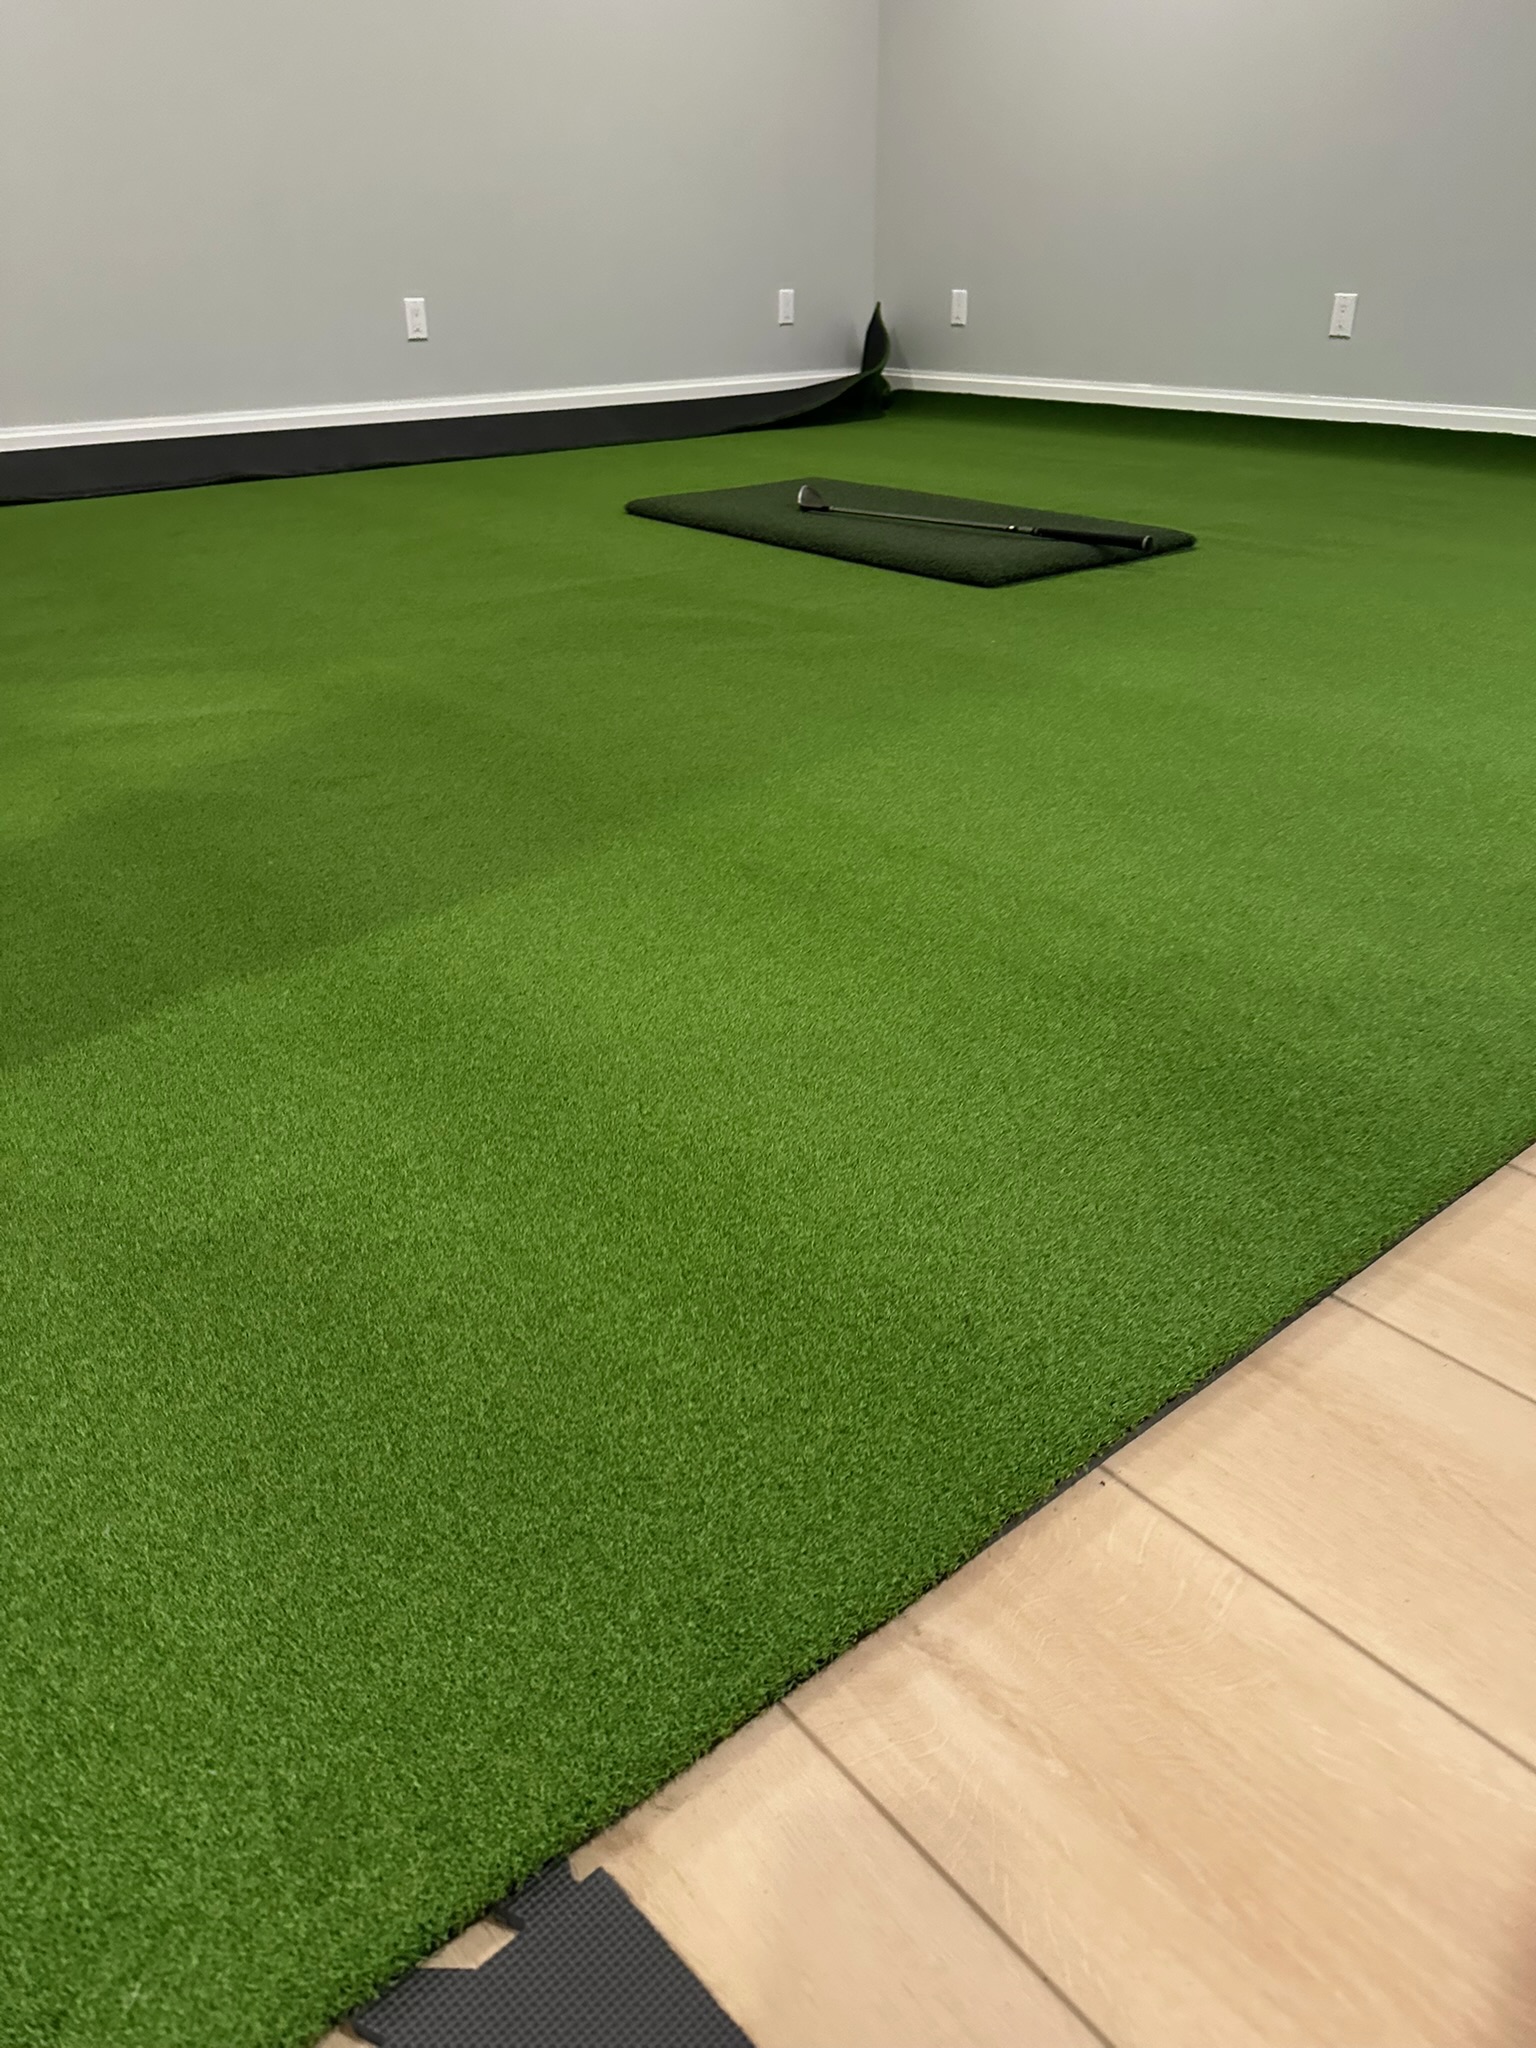
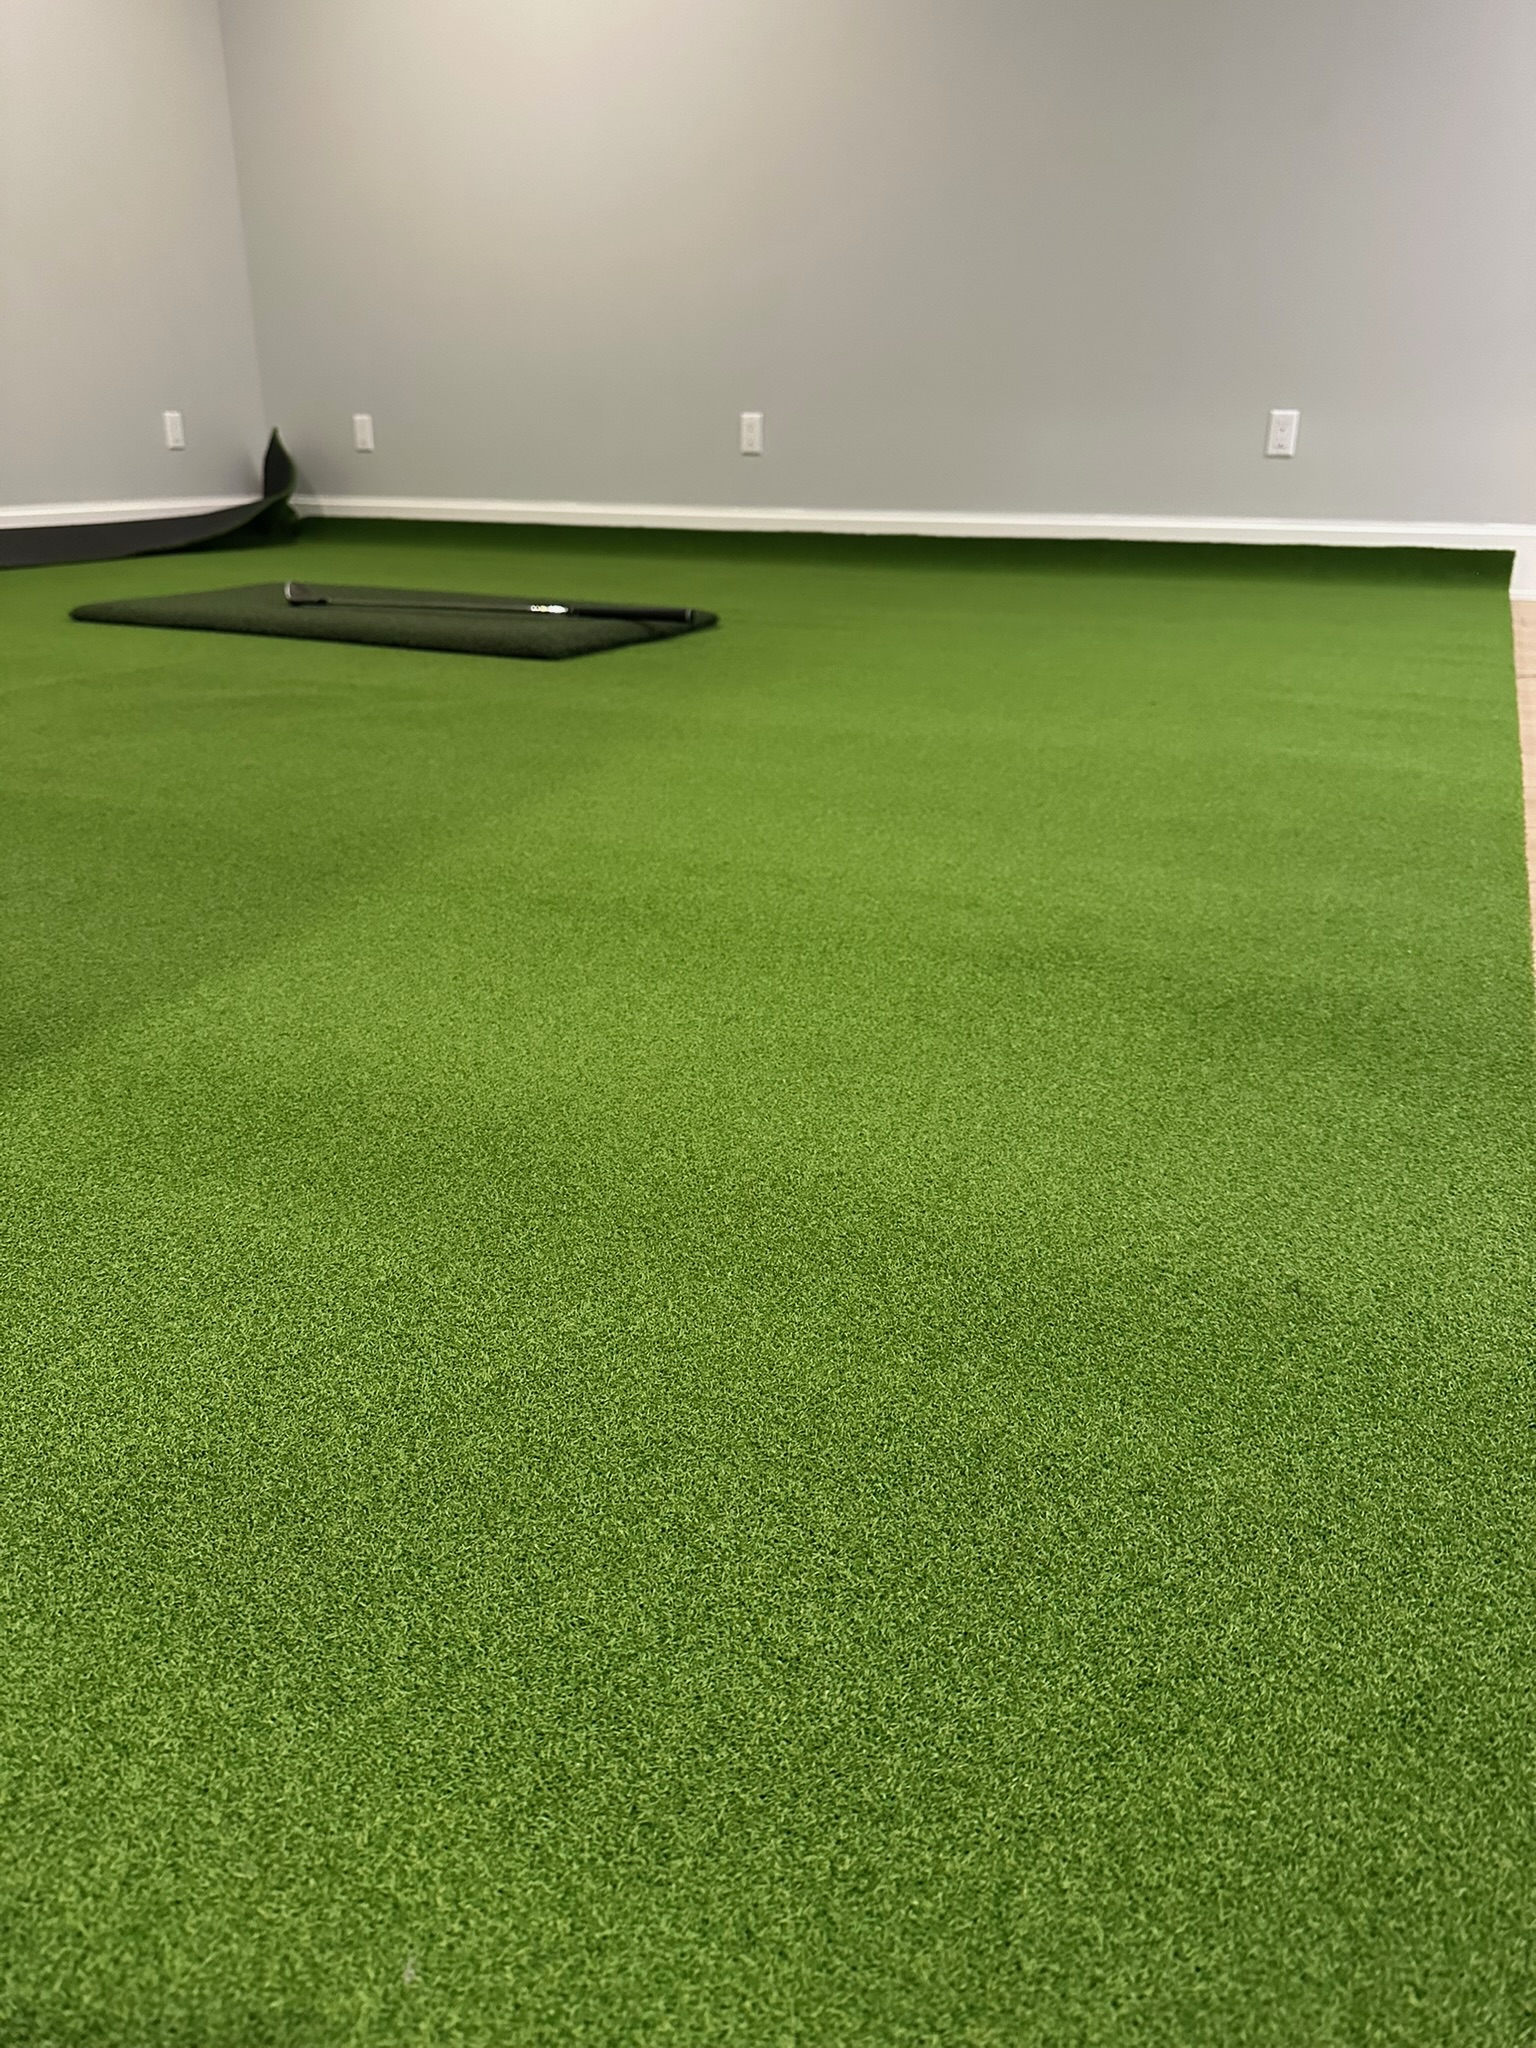
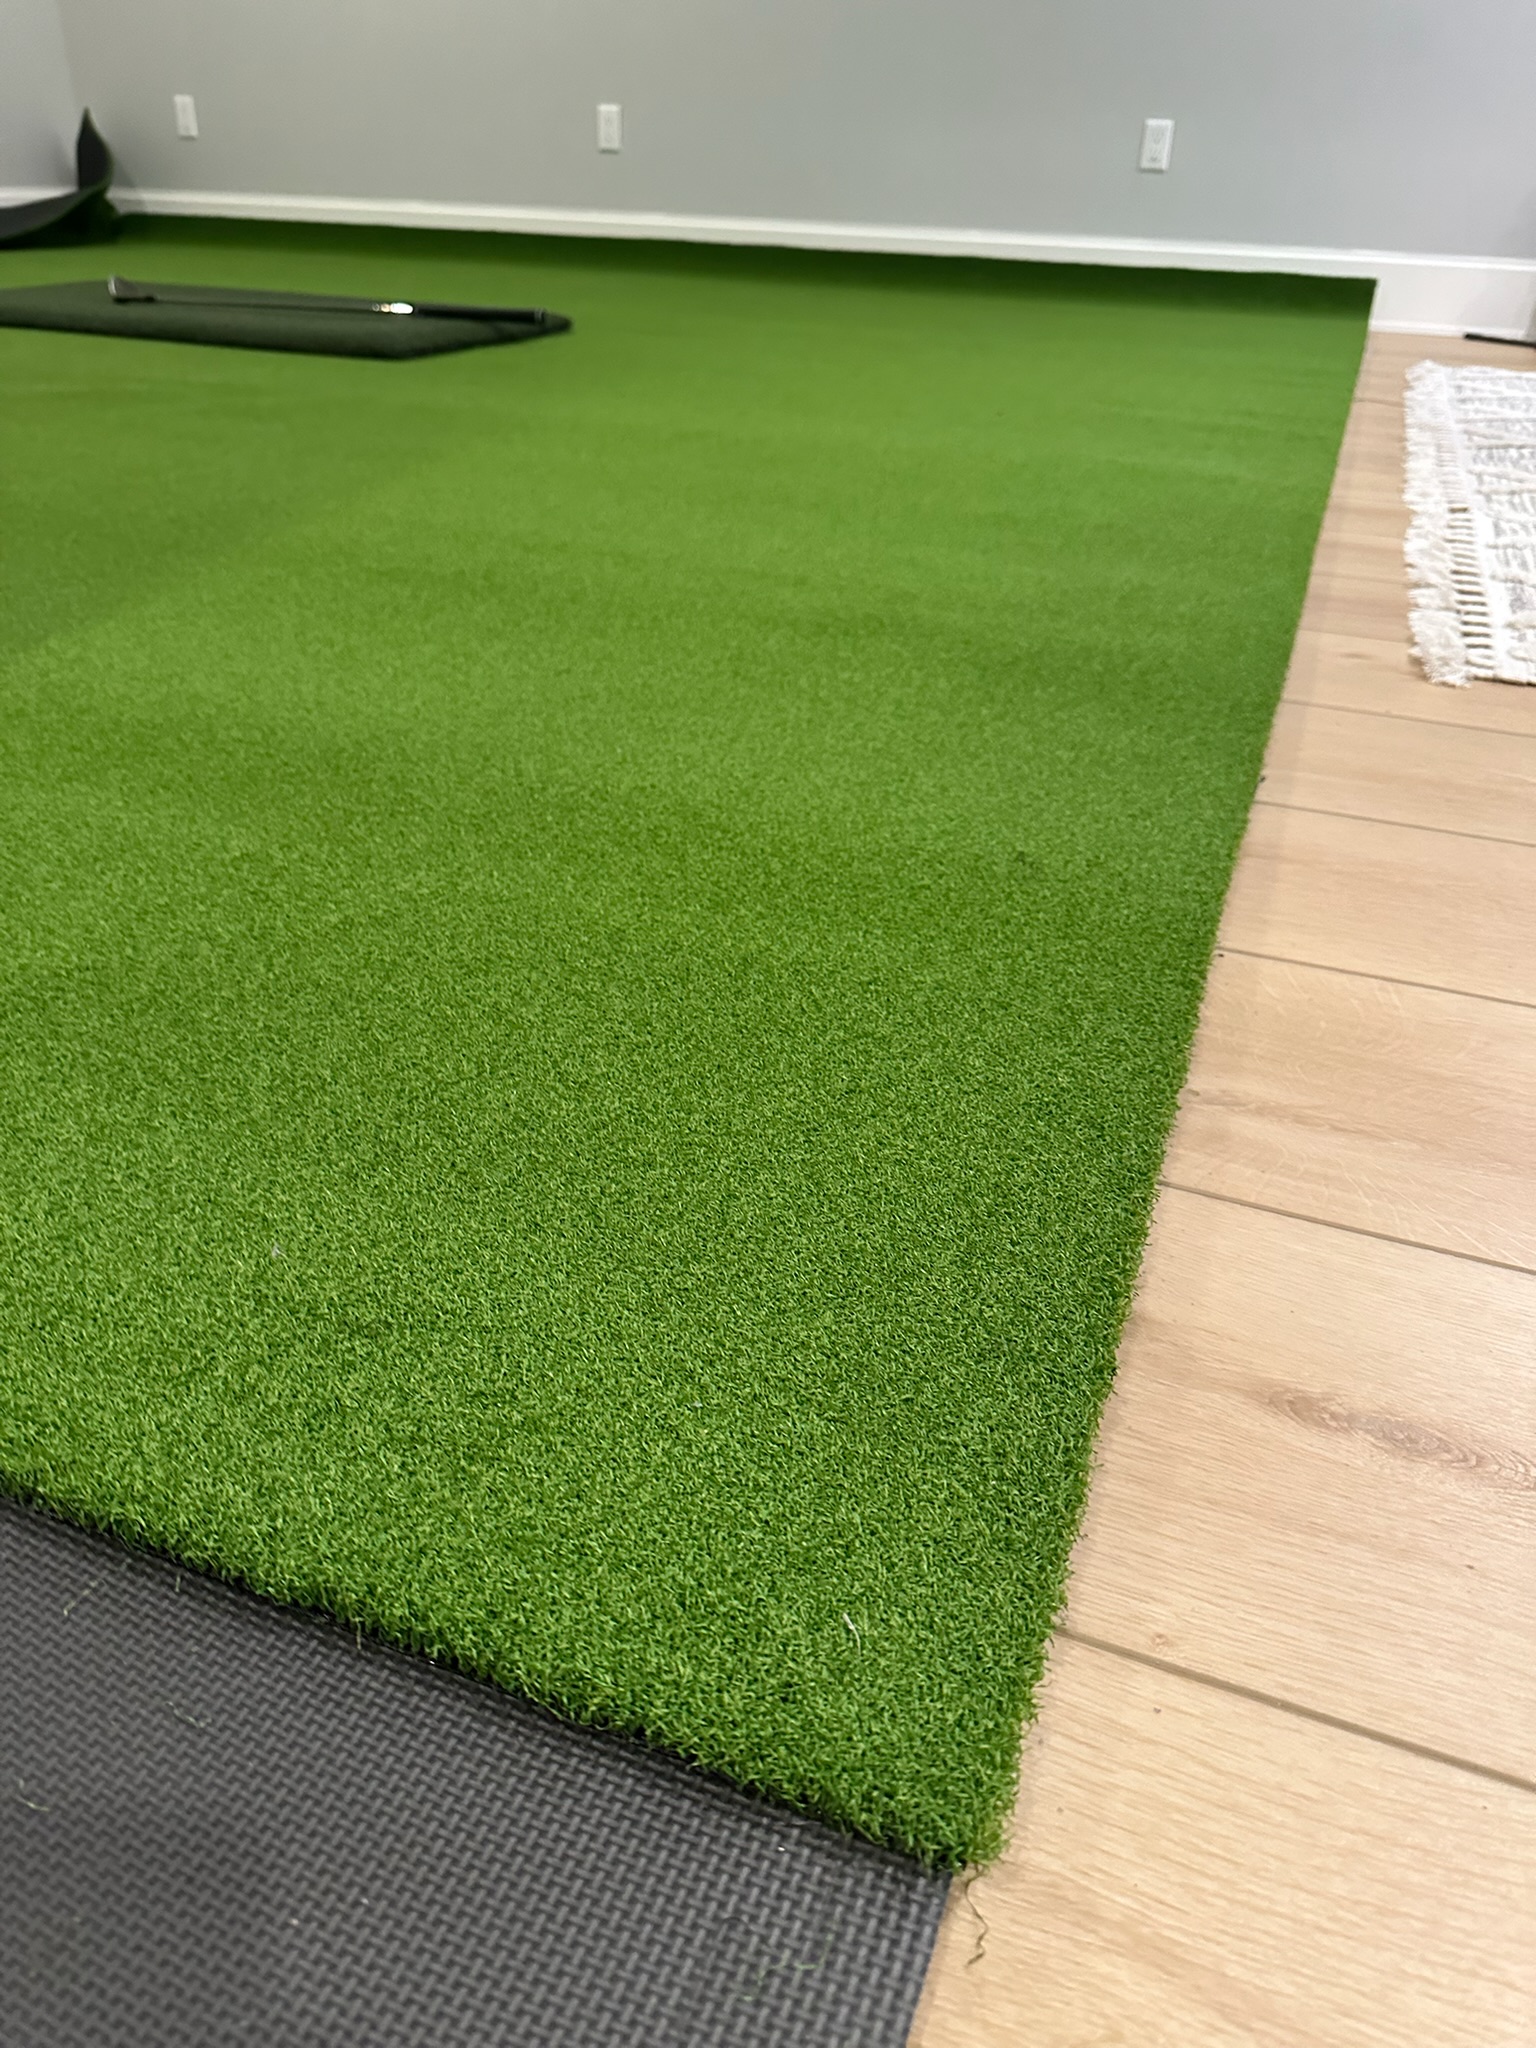
Phase 3: SynPro Turf
Flooring makes or breaks the look of a simulator room. I went with SynPro turf — a golf-specific artificial turf that looks great and performs well underfoot. It ships as a large roll that you cut to size. Lowe’s will cut to length for you at order time. It comes in 14″ rolls, so was perfect for my project.
I ordered enough to cover the full room floor. The turf goes down over the existing foam tiles — no adhesive, just weight. The edges tuck under the side baffles cleanly.
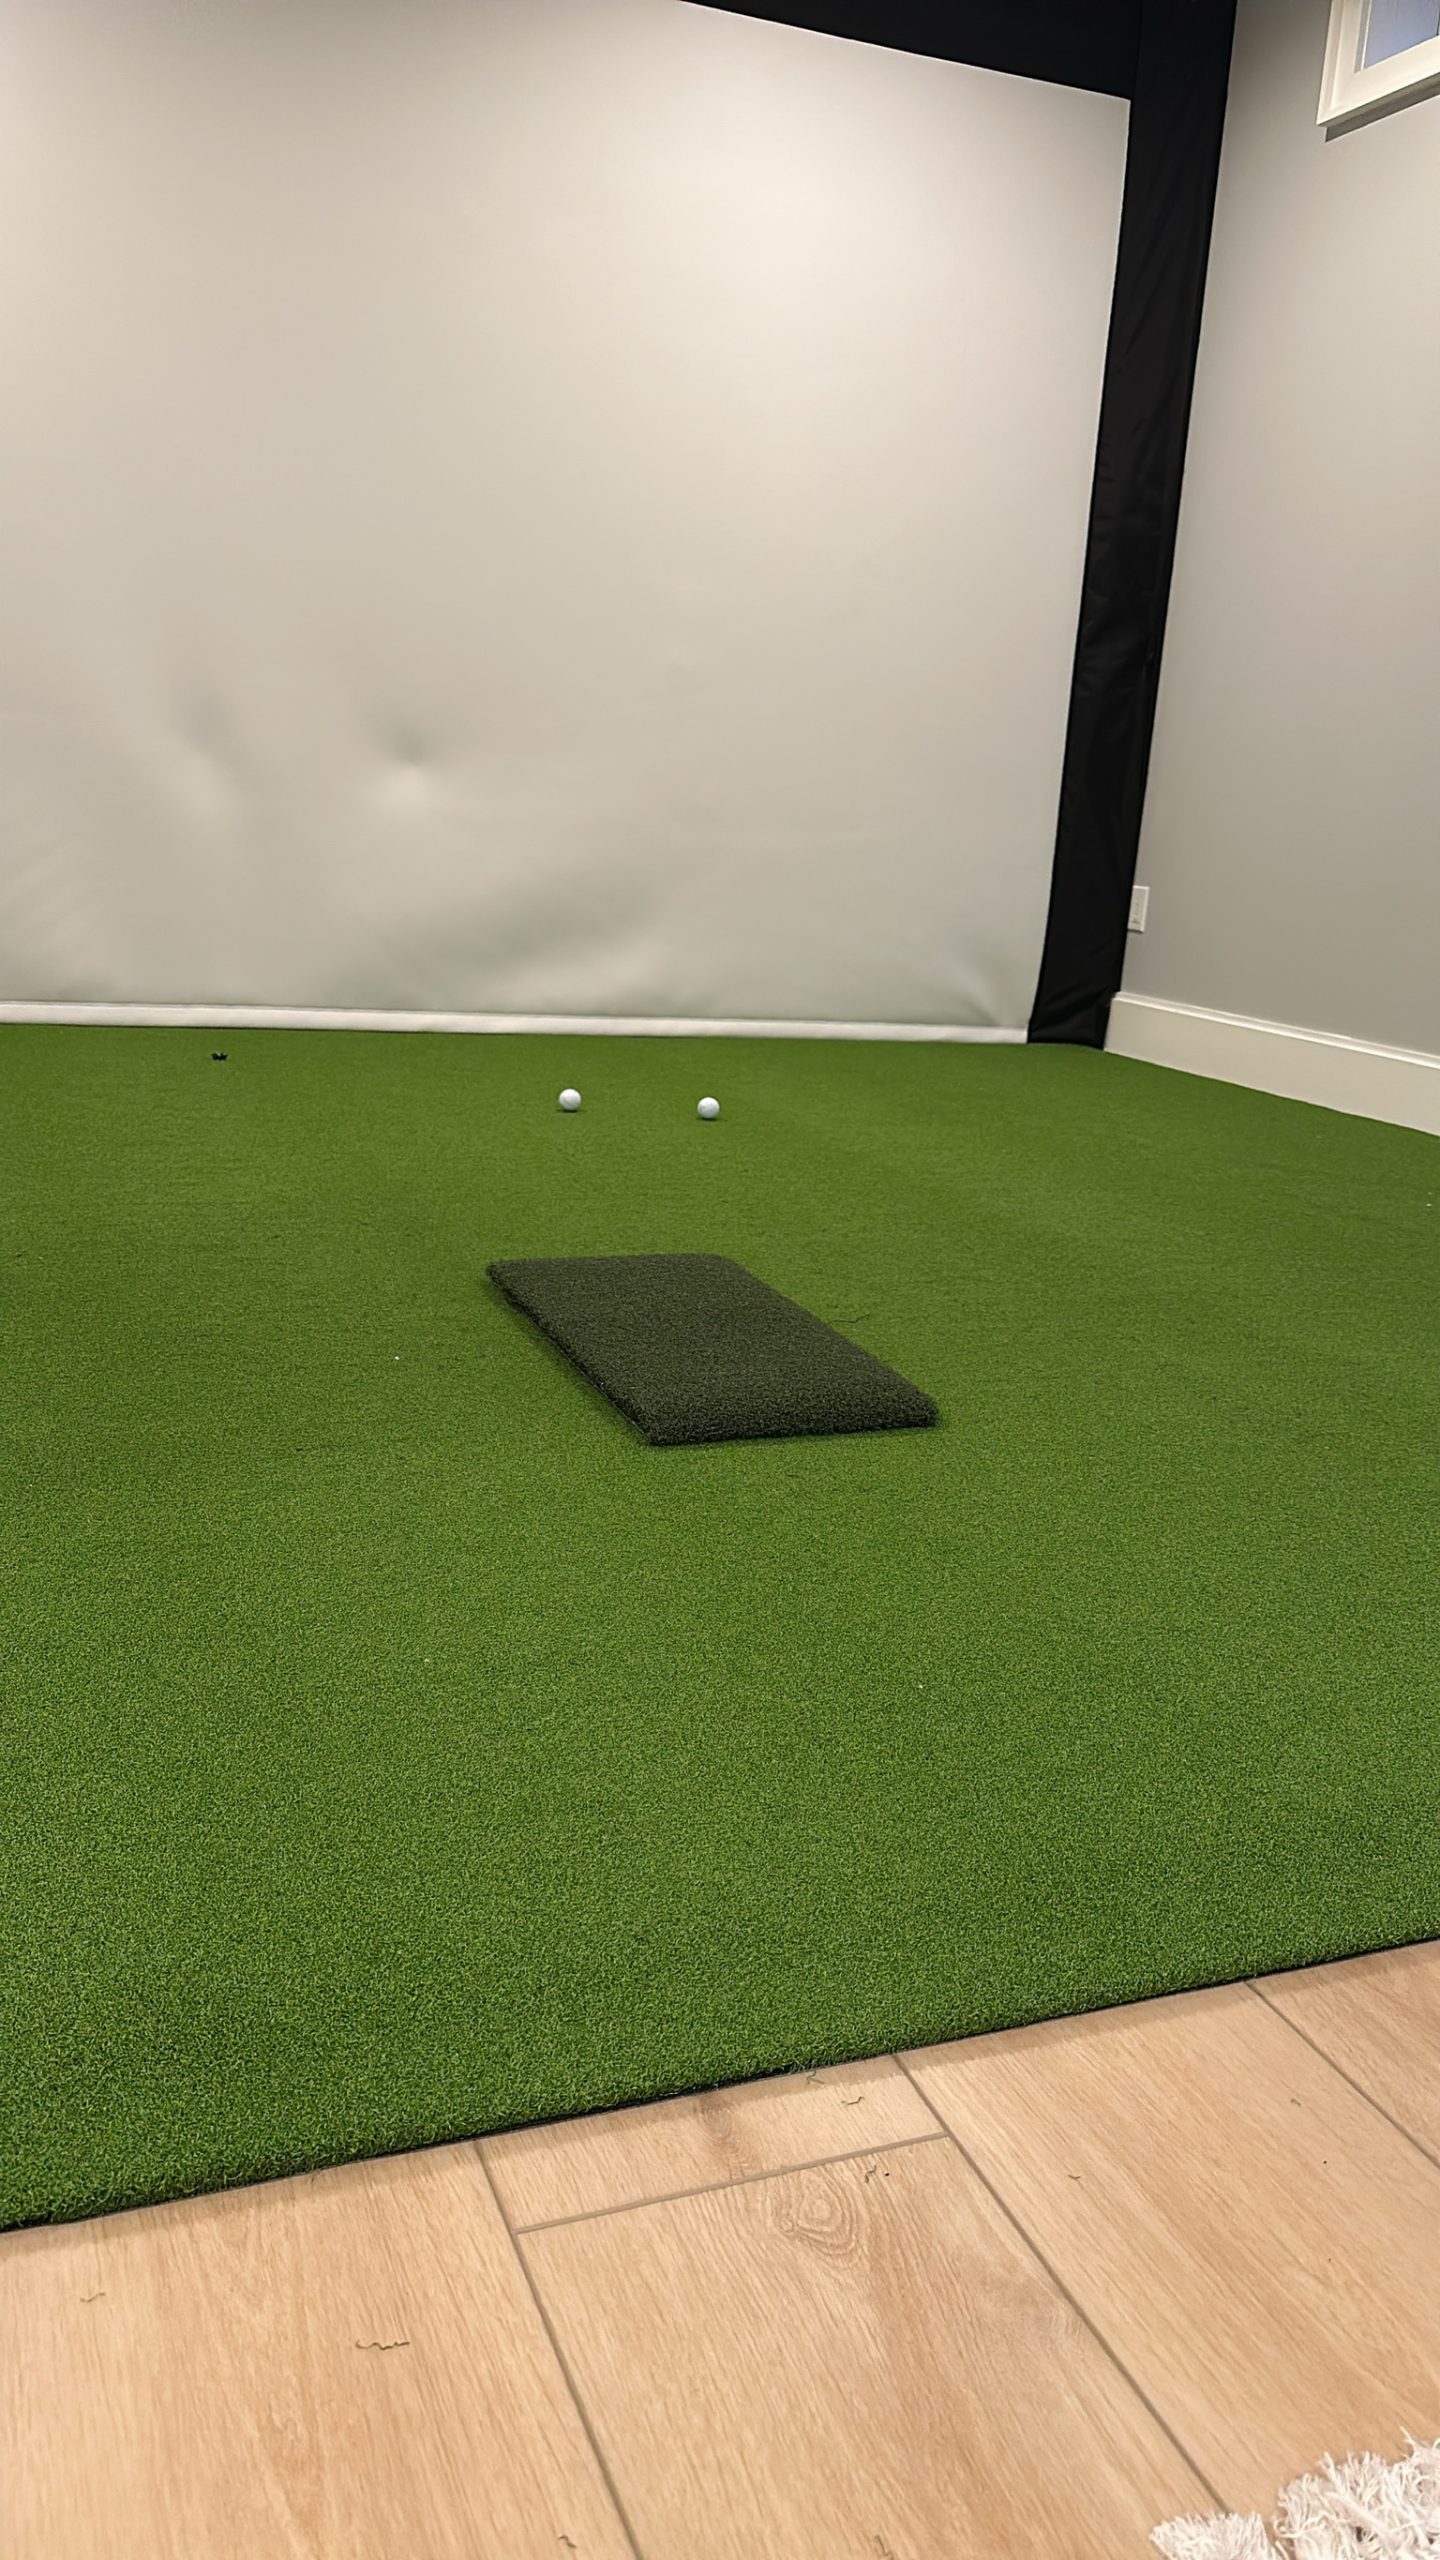
Phase 4: The EZ Tee Hitting Strip
The hitting strip is where you actually swing from, so it matters. The EZ Tee hitting strip sits on top of the SynPro turf and gives you a realistic hitting surface. It’s a firm, low-pile mat that sits flush with the surrounding turf — no tripping hazard, no awkward step up. Some opt for an elevated hitting surface, but that just seemed like so much extra unncessary work. The Lowes Turf is just over 1/2″ in height + 1/2 Foam Mat makes it a prefect fit with the 1″ tall EZ Tee Hybrid hitting strip. It aligned perfectly with the surrounding turf.
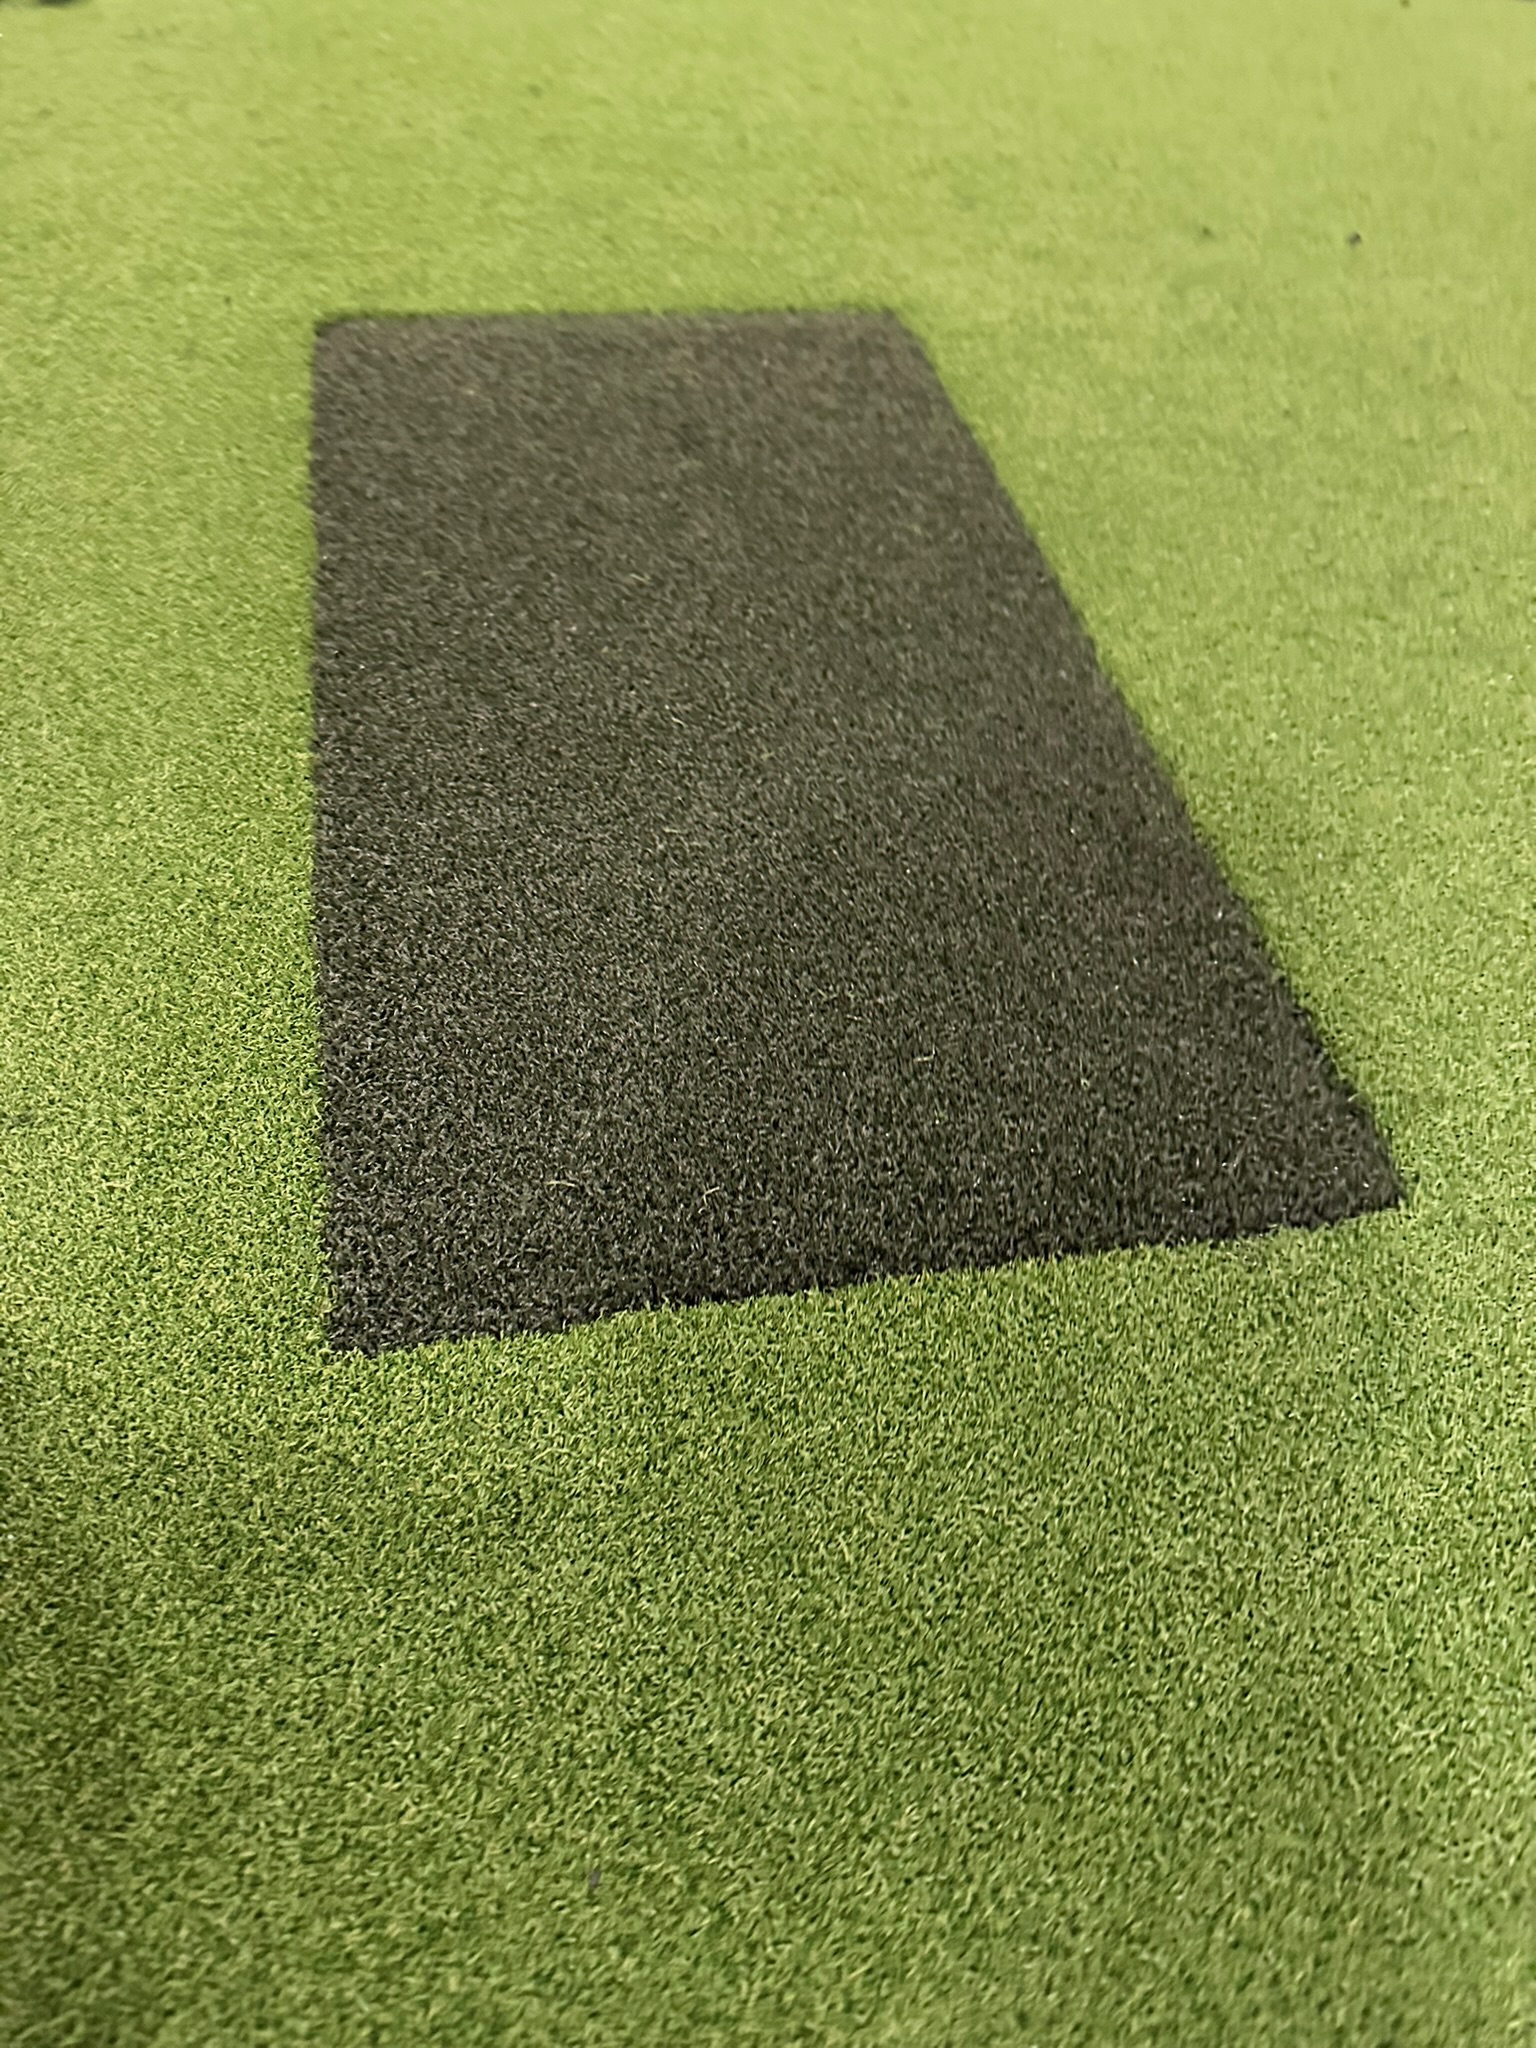
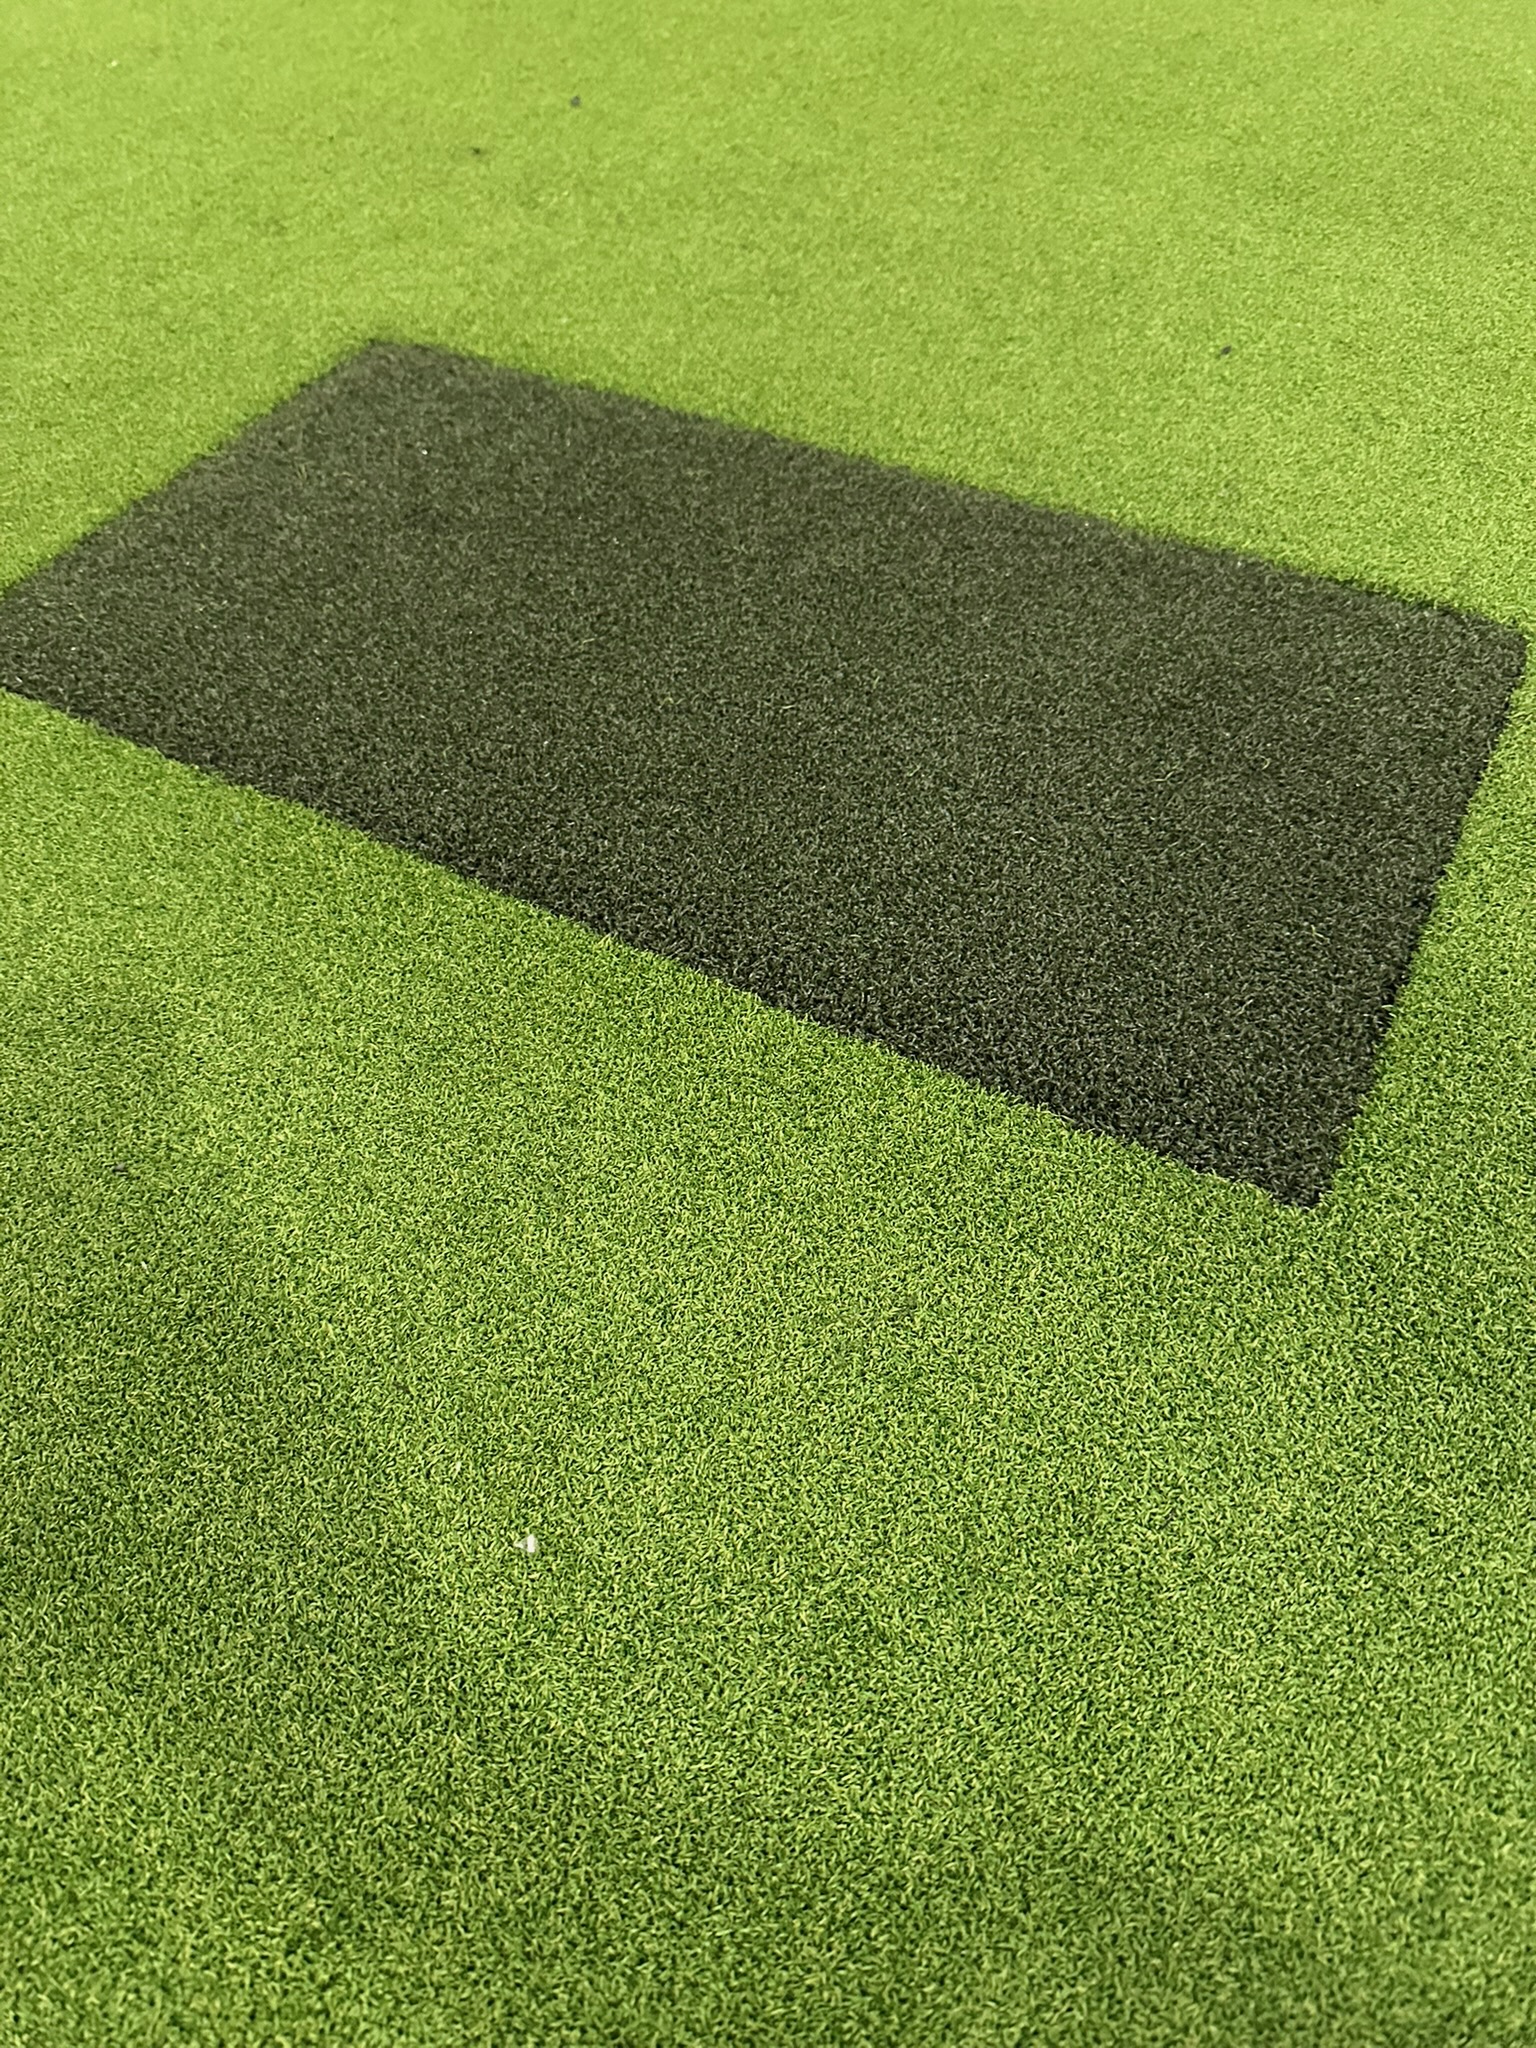
The EZ Tee hitting strip is one of those things where you get what you pay for. The cheap alternatives feel wrong underfoot immediately. This one feels like hitting off a tight lie — exactly what you want.
Why Not Just Use a Thick Hitting Mat?
You can, and plenty of sim builds do. I went the turf-plus-strip route because I wanted the full floor coverage to look like a real tee box, not a mat sitting on carpet. Personal preference, but I think it looks significantly better and the playing experience is more immersive. Also, I wont need to replace the entire Turf Mat, just the hitting strip when it starts showing wear.
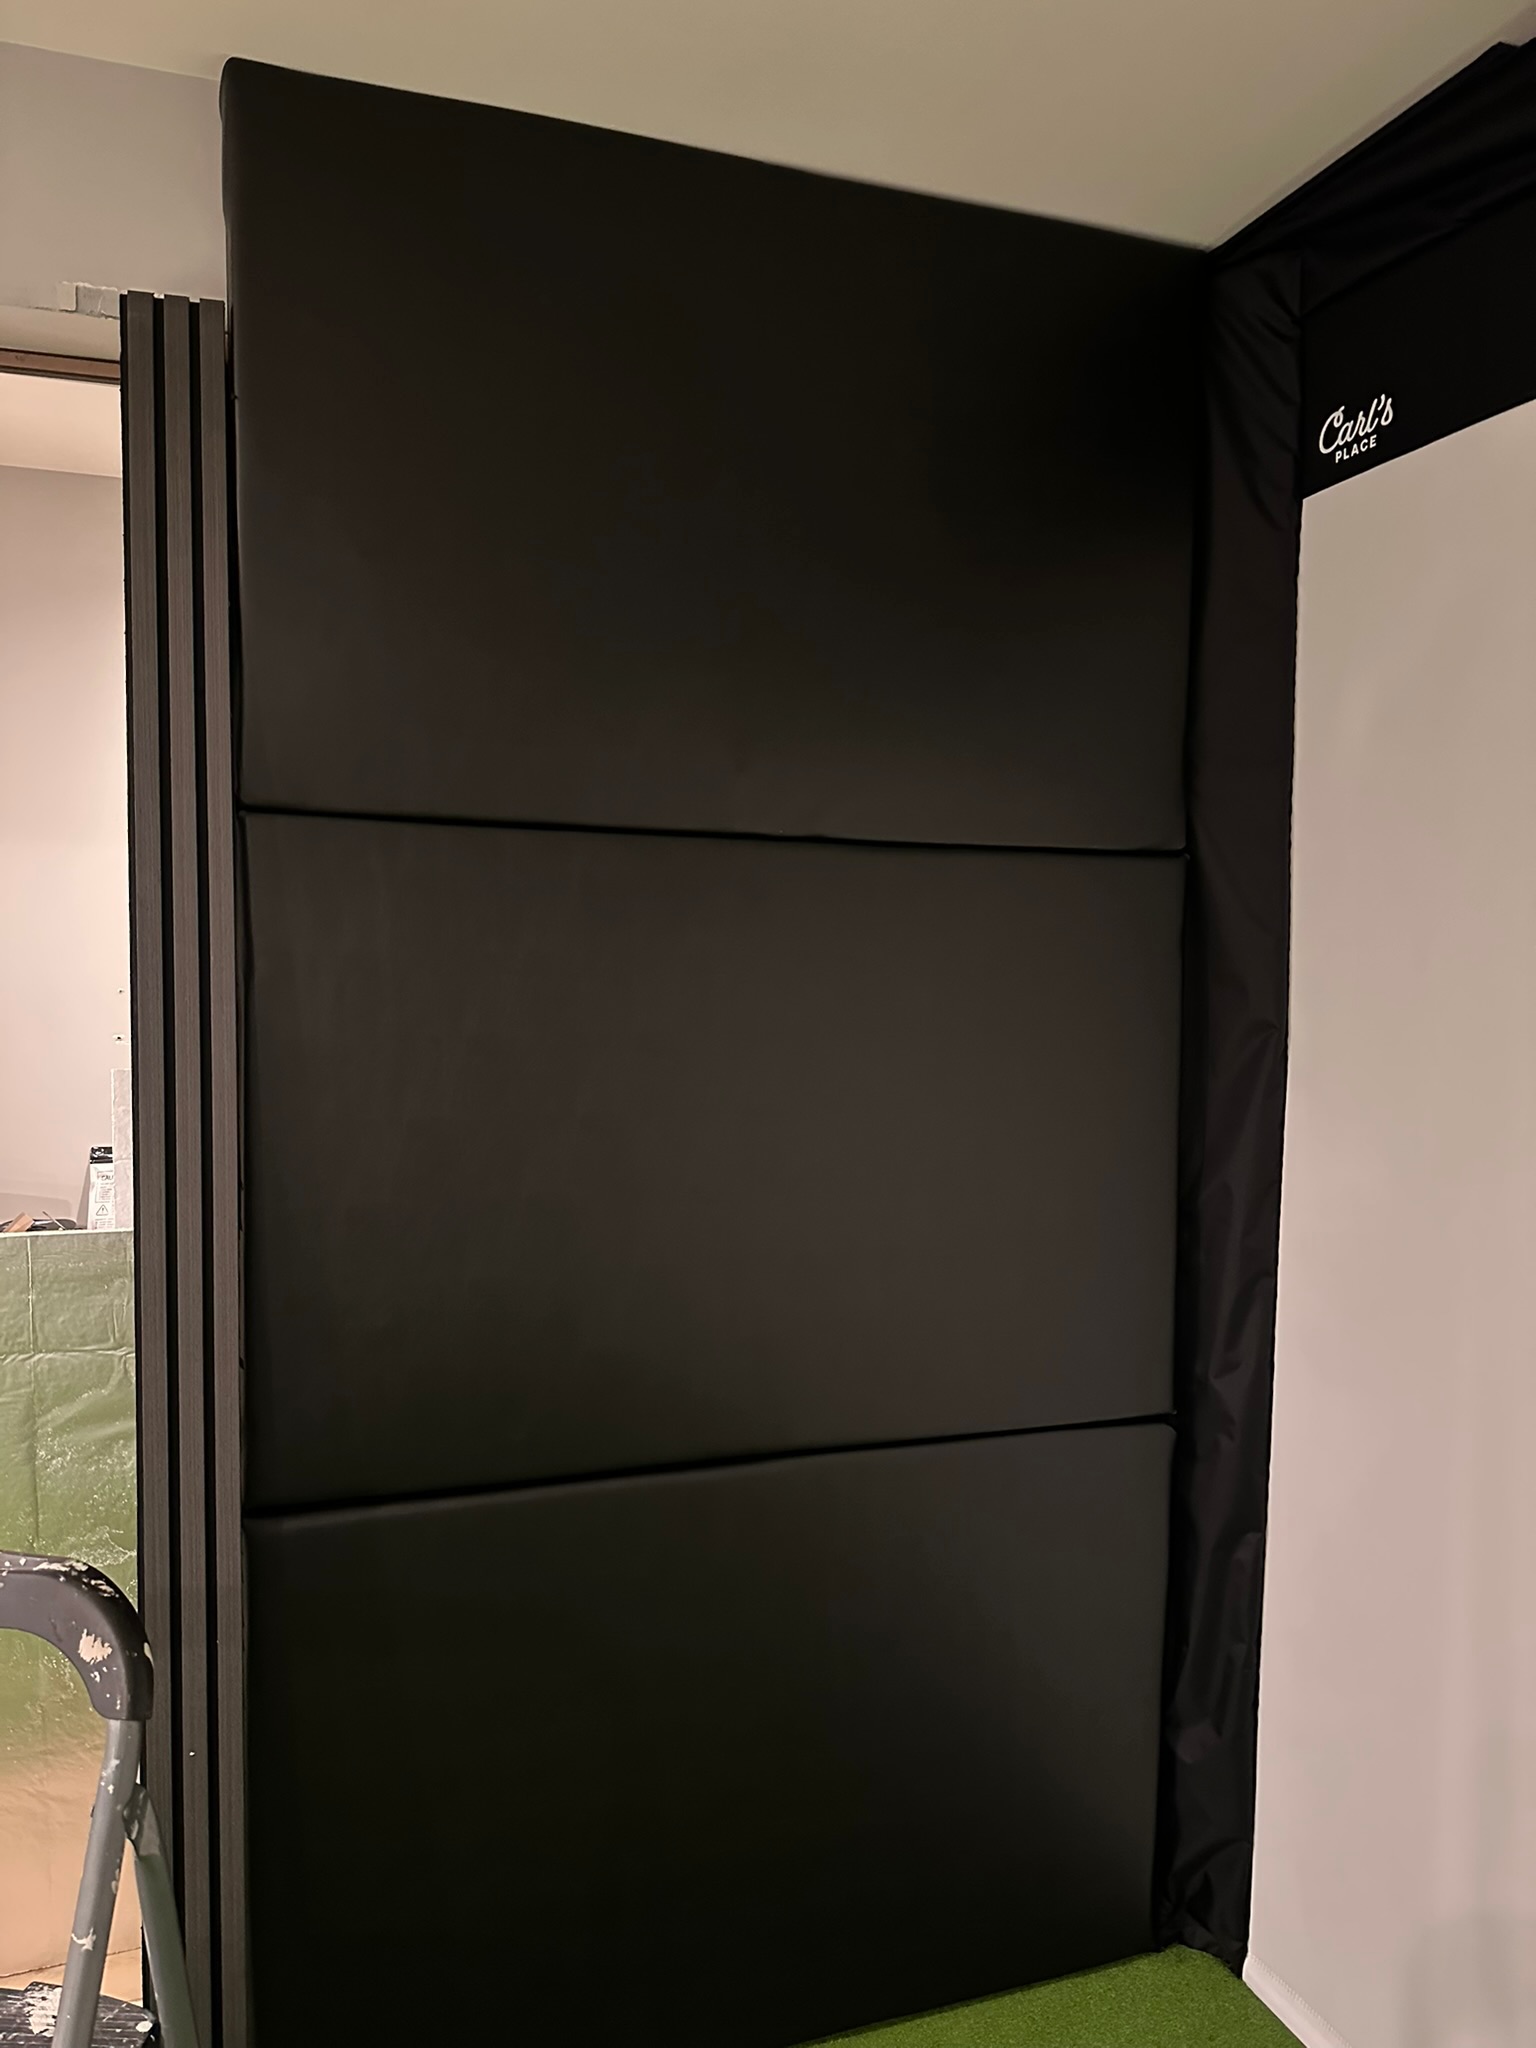
Phase 5: Side Padding and Enclosure Finish
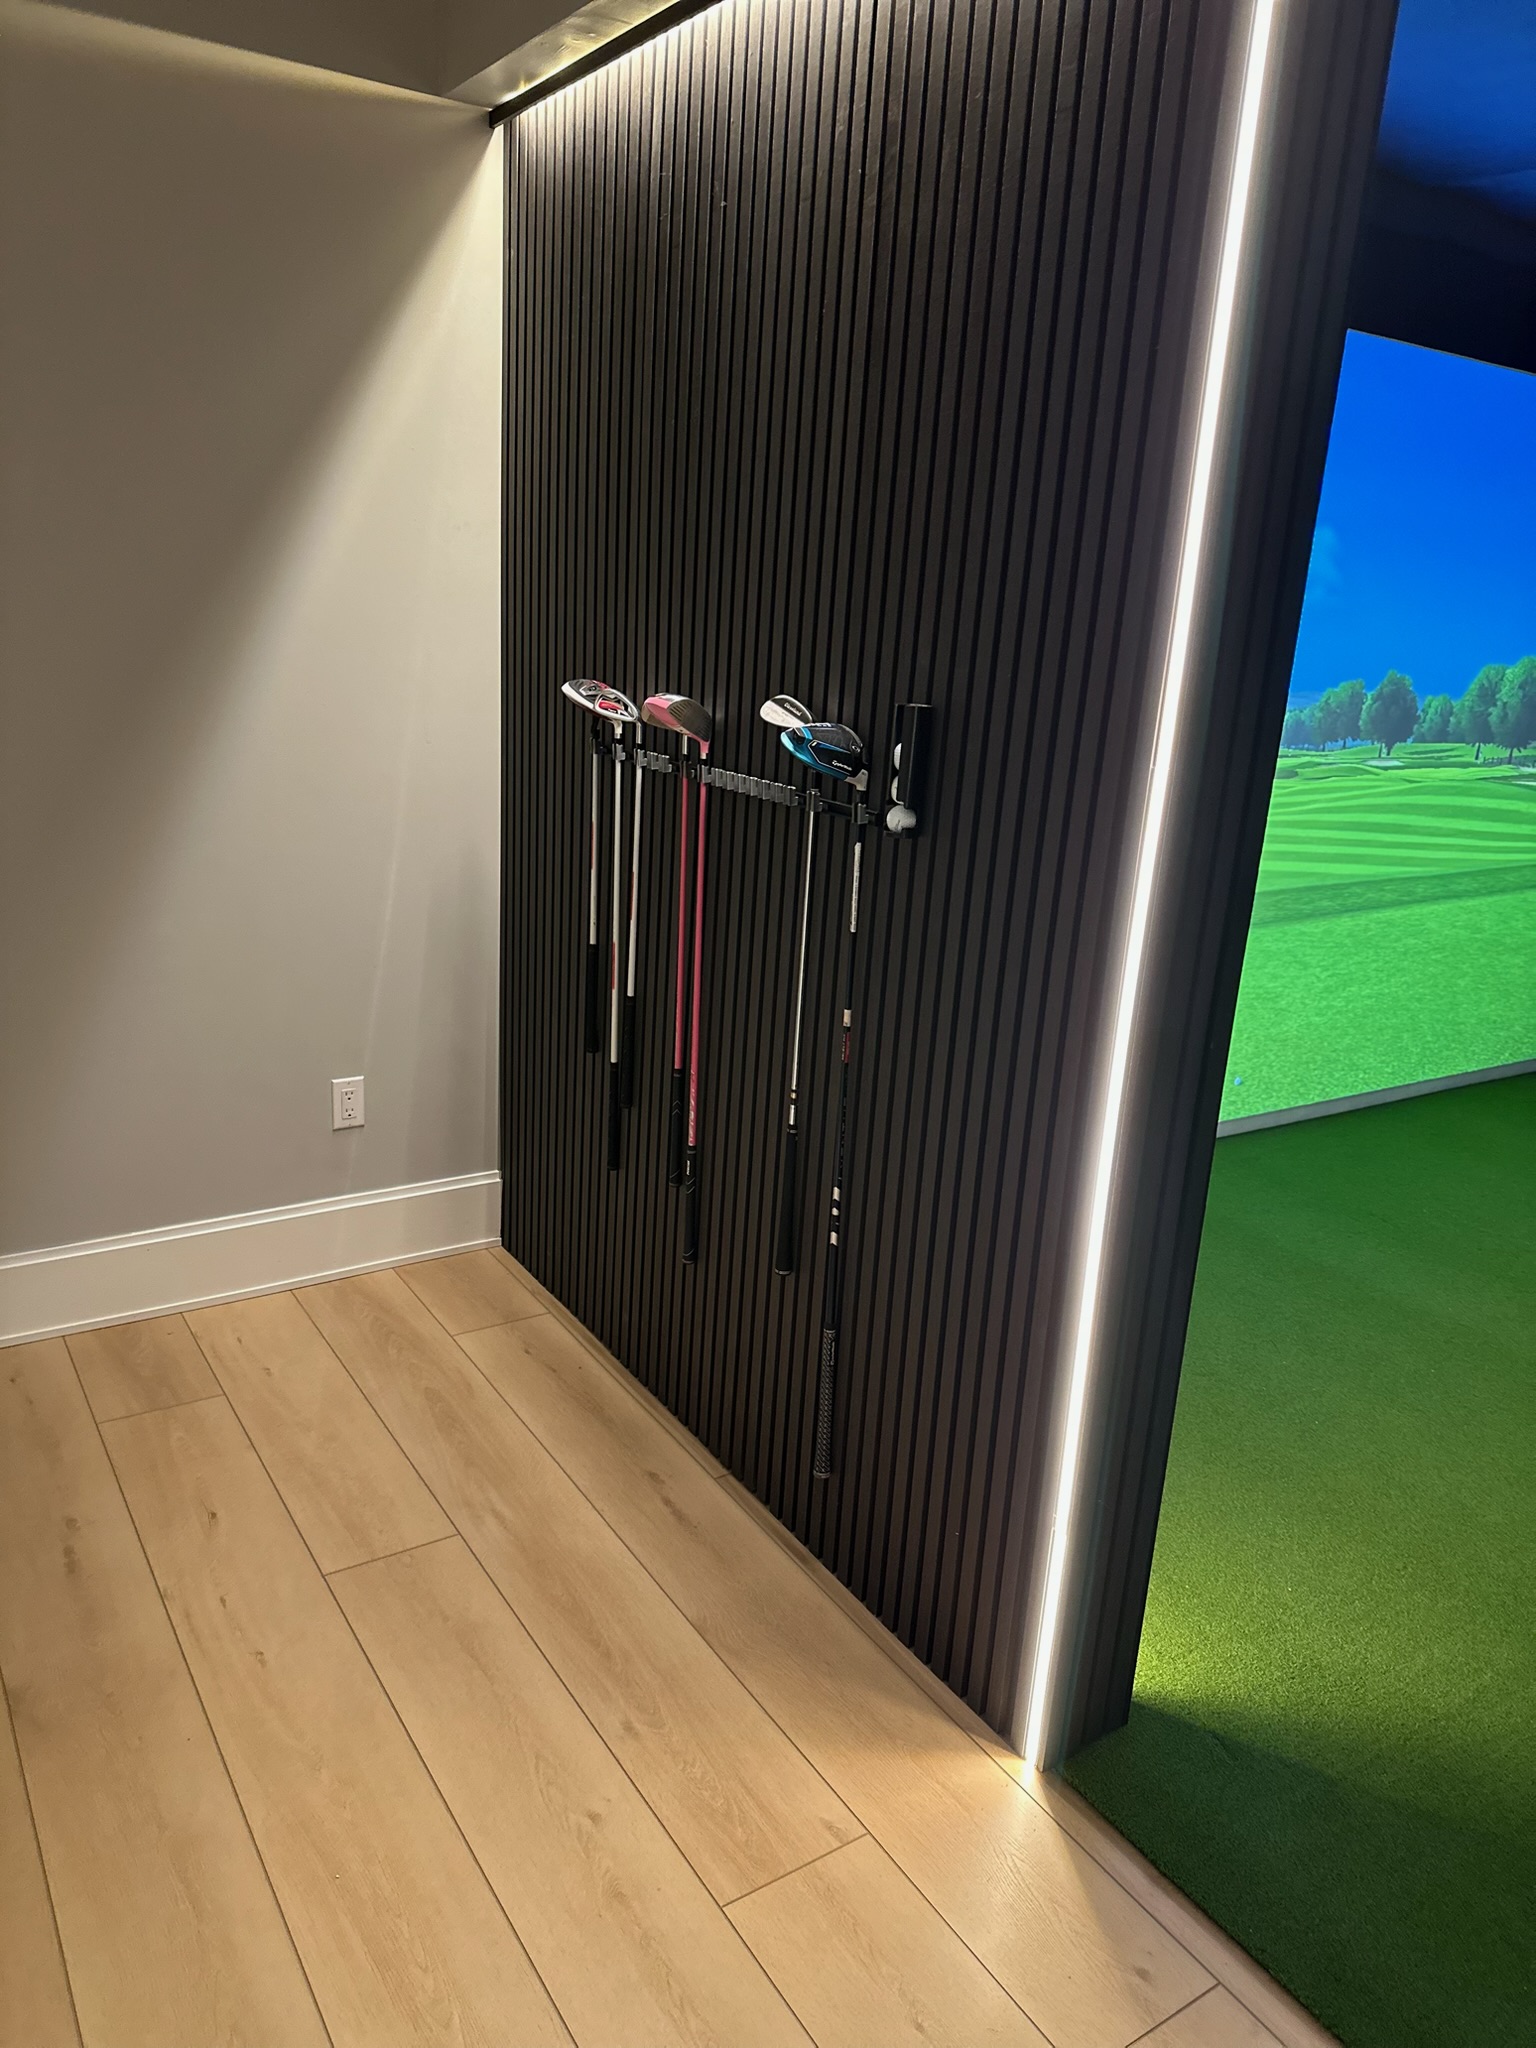
The Carl’s Place does offer side wall padding as a seperate cost. I opted to give my hand at making DIY Foam Panels along the side walls and ceiling — both for safety on errant shots and for the finished look.
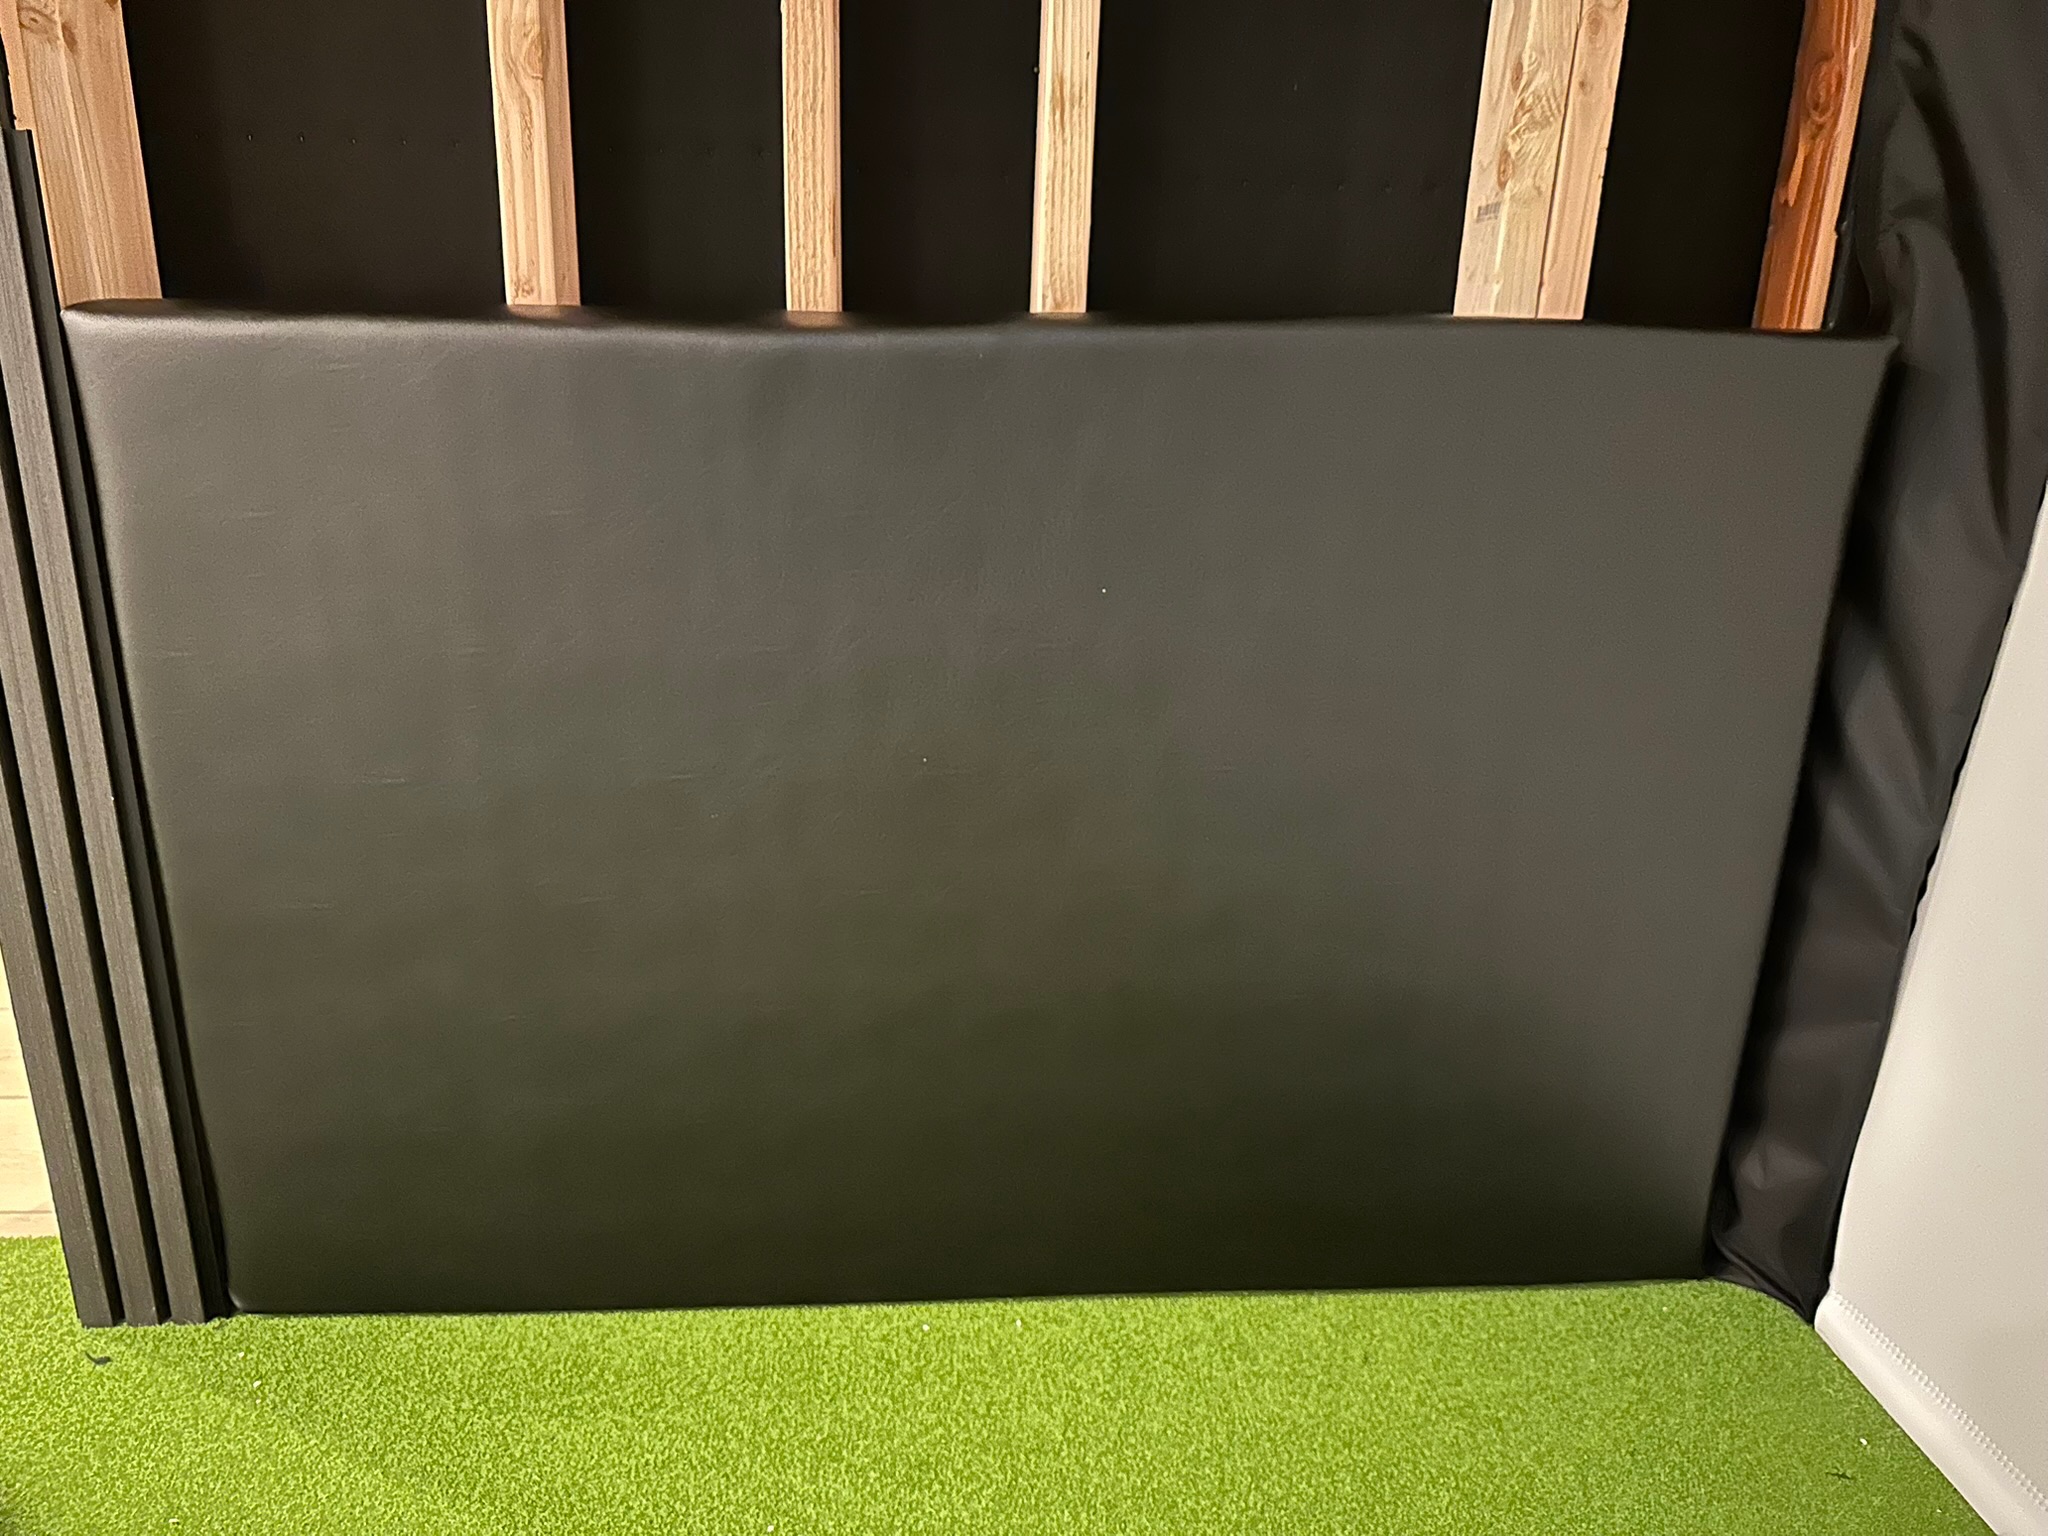
1″ Foam on the Ceiling
2″ Foam on the Walls
Black Marine Vinyl Fabric
1/2 Owens Corning Foam Board from Home Depot (or 1/4 / 1/2″ plywood would work too). I liked that it was easy for me to cut with a box knife and super light!
I went through a few different variations for installing to the wall and the ceiling. My original version lasted two days and it all came crashing down on the floor overnight. It was devastating and discounting.
Some folks like to use french cleat systems, but I opted for a combination of industrial strength velcro and a few brad nails with my Ryobi Nailer.
Phase 6: LED Lighting
This was an afterthought that became one of my favorite decisions. I ran LED strip lights along the ceiling edge around the perimeter of the room. It adds ambient lighting that doesn’t create glare on the screen and makes the room look incredible.
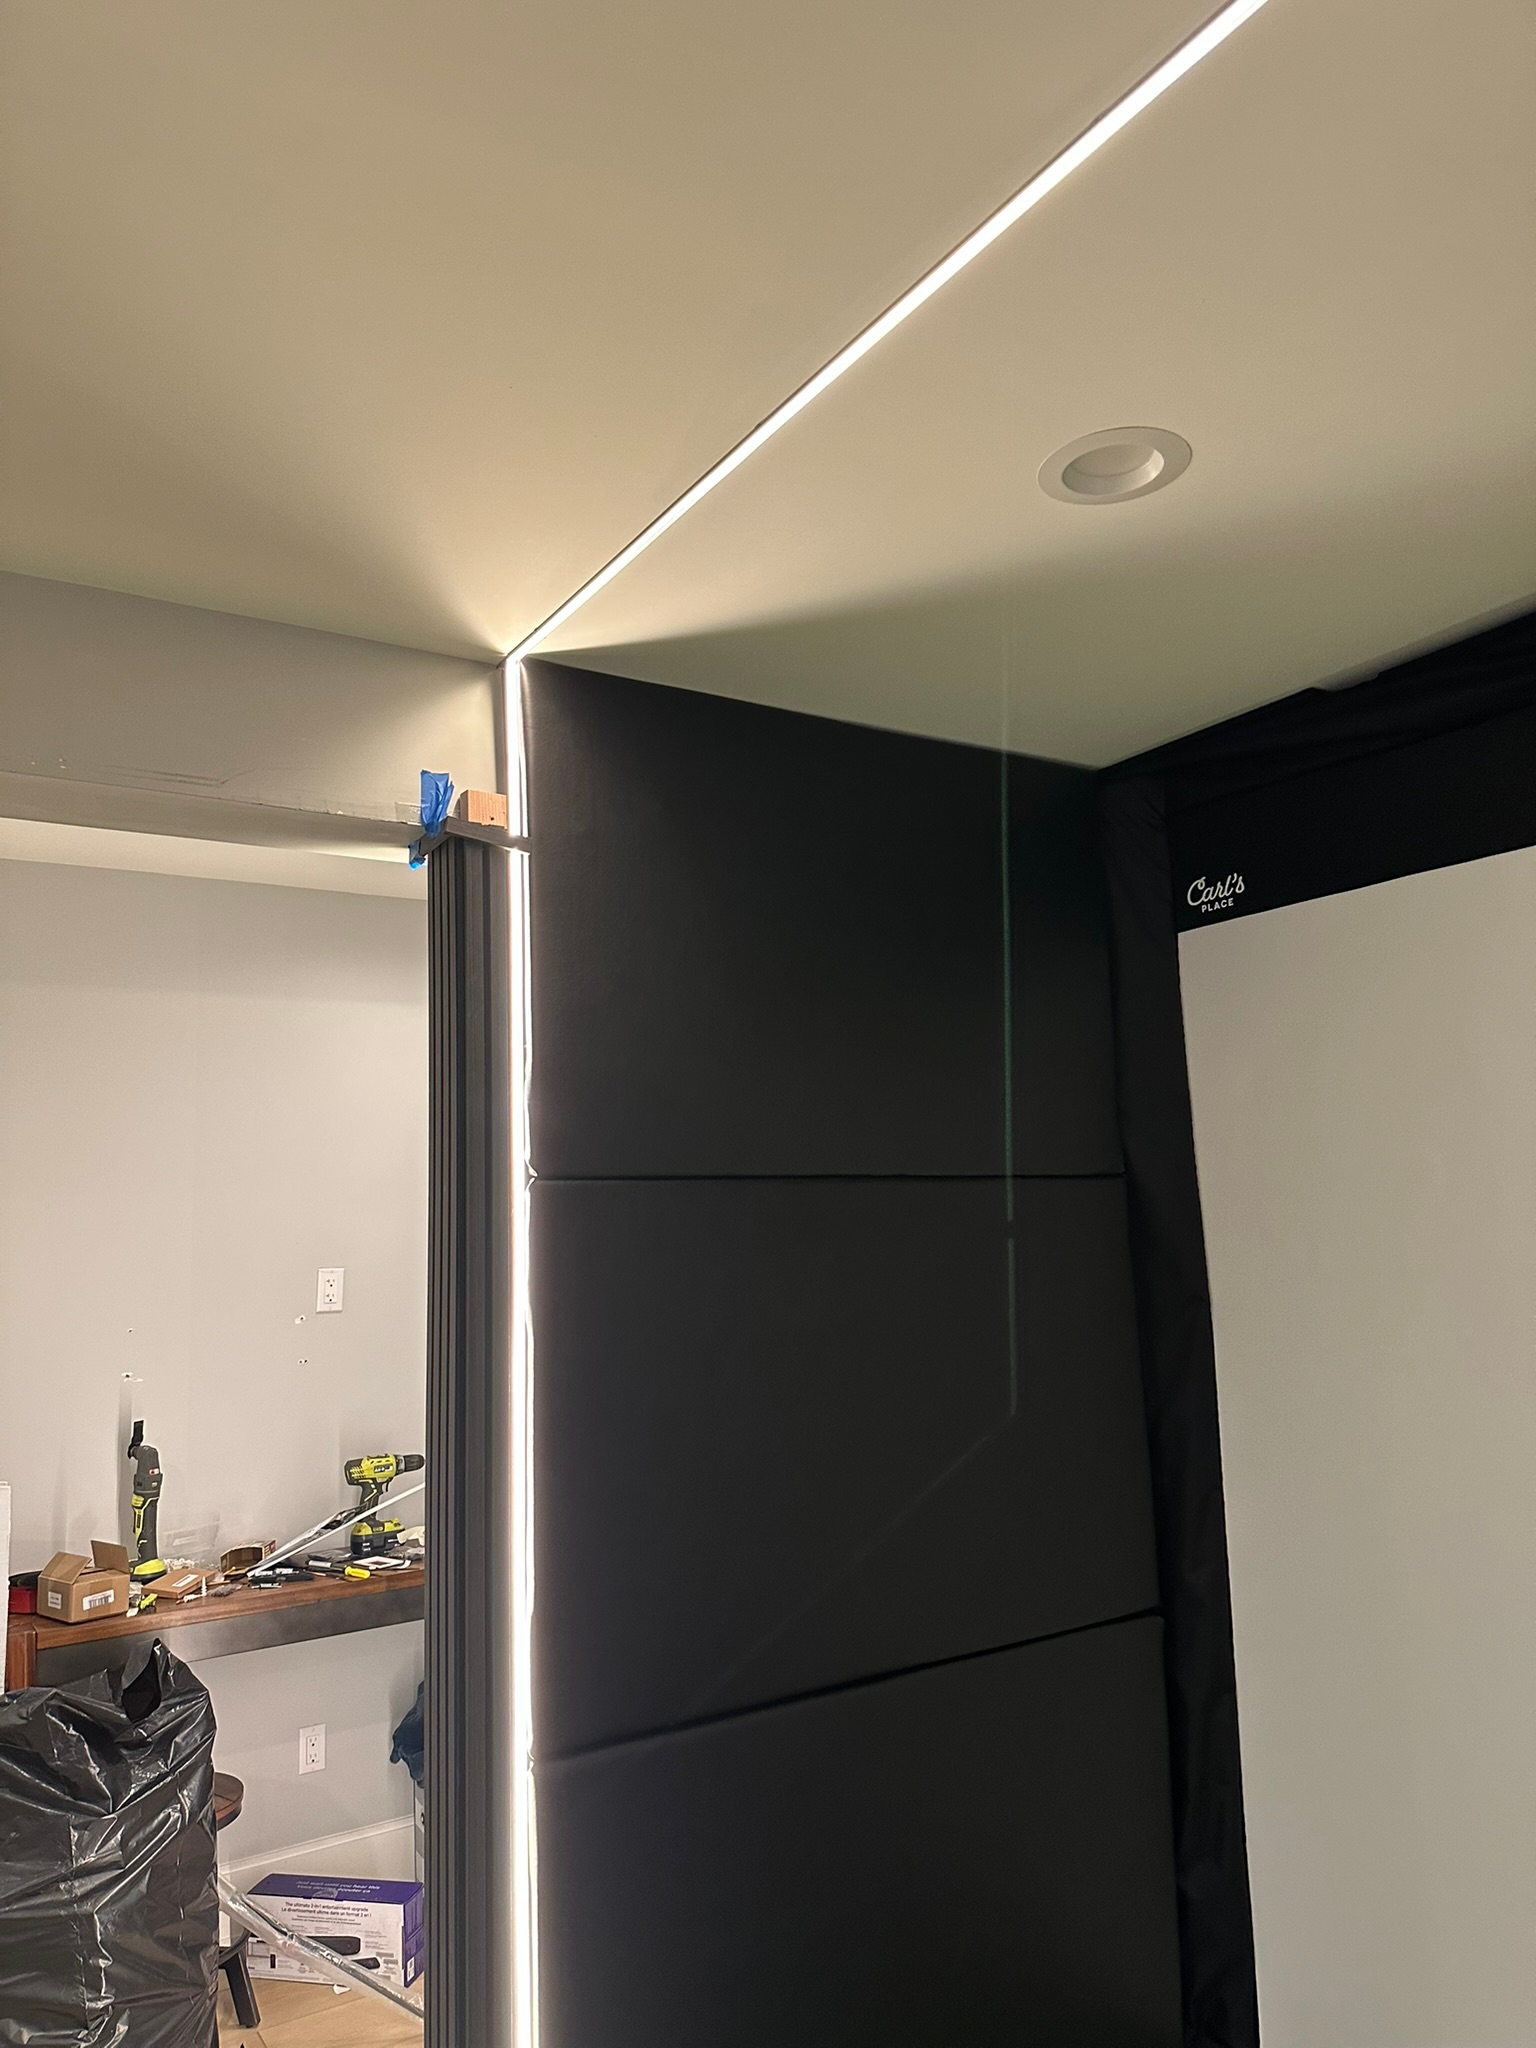
I used COB LED strips in warm white (2700k) during play when I just want to vibe in there. Cost was under $80 for the whole run lighting wire, aluminum track and diffuser.
LED tip: Don’t run the LEDs directly behind the screen — you’ll get glare that washes out the projected image. Keep them on the side and rear walls only.
Phase 7: The Garmin Approach R50 Launch Monitor
The launch monitor is the brain of the whole operation. I chose the Garmin Approach R50 after comparing it against the Mevo+ and Uneekor setups. The R50 won for Garmin’s accuracy reputation, the built-in touchscreen display, and E6 Connect software integration. I didn’t want to run wires and have a computer hanging out in the space, so by using the Garmin R50 you can use Home Tee Pro which has every course you can imagine, and offers E6 Connect if I decide to hookup a computer in the future.
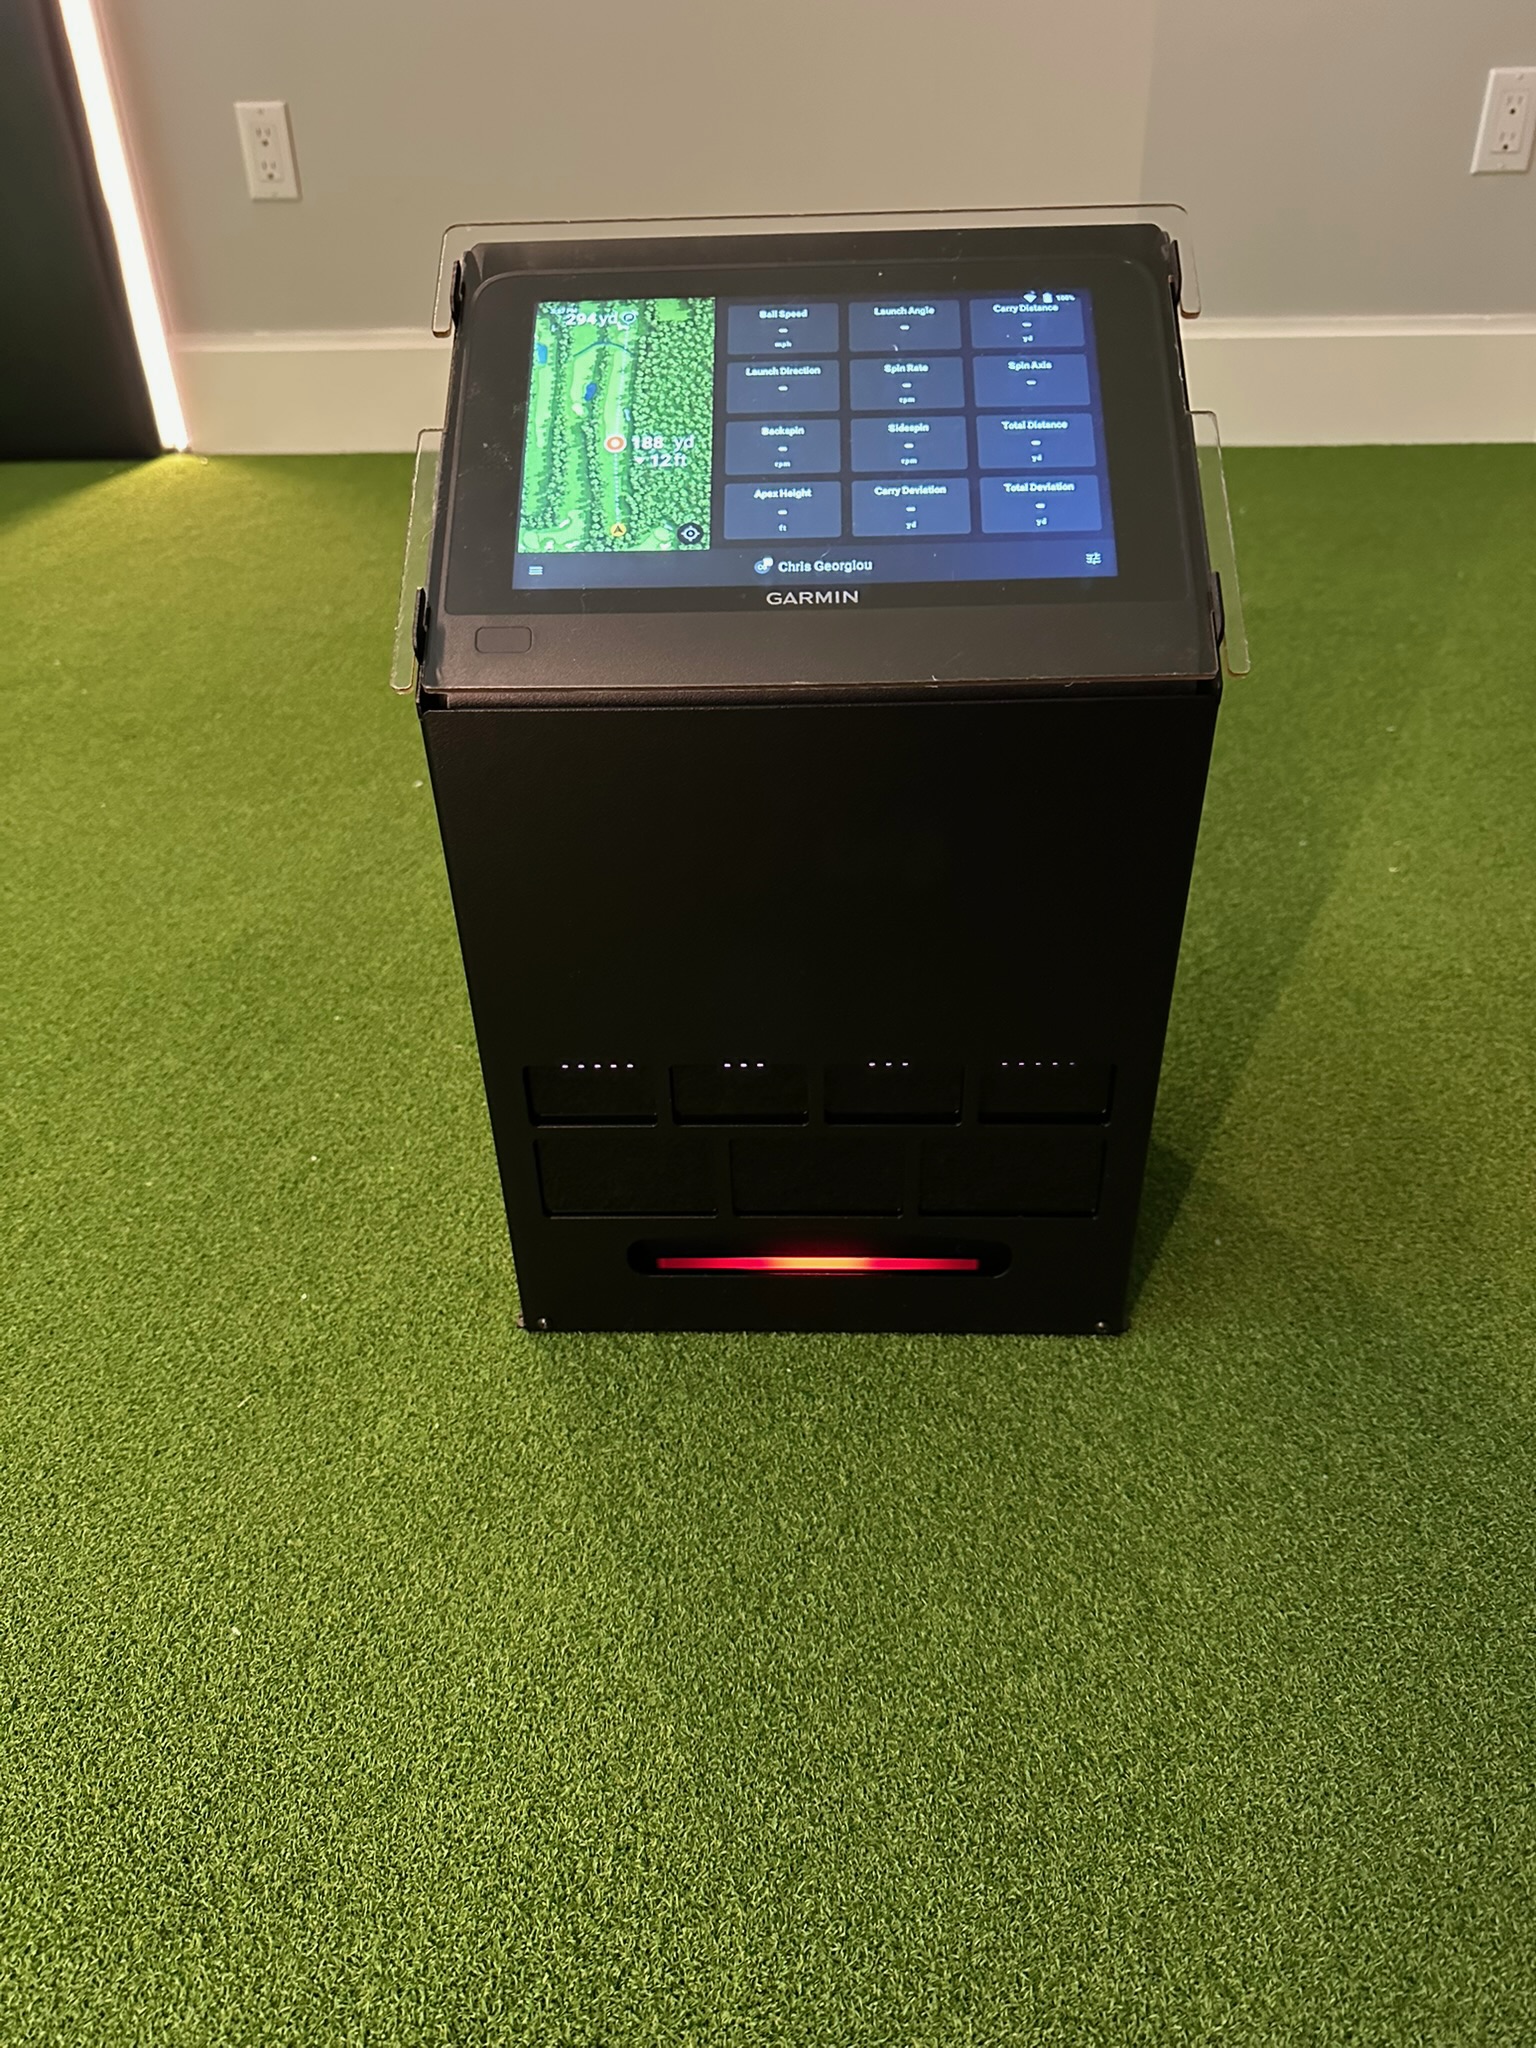
I got this awesome Steel Case on Etsy – no way I was letting my kids destroy the Garmin with a flying club or ball!
The R50 sits on the floor behind the hitting position and reads the ball using radar. It captures ball speed, launch angle, spin rate, carry distance, total distance, and more. Setup took about 20 minutes including app configuration and network pairing.
E6 Connect vs. GSPro
The R50 comes with E6 Connect included. It’s solid — good course library, realistic ball physics, works well out of the box. Some builders prefer GSPro for its course variety and community, but it requires a subscription and more setup. I started with Home Tee and have been happy with it.
Phase 8: The Finished Room
Three weekends. A lot of trips to Lowe’s and Home Depot. One moment of panic when I thought I’d ordered the wrong screen size (I hadn’t). And this is what you end up with:
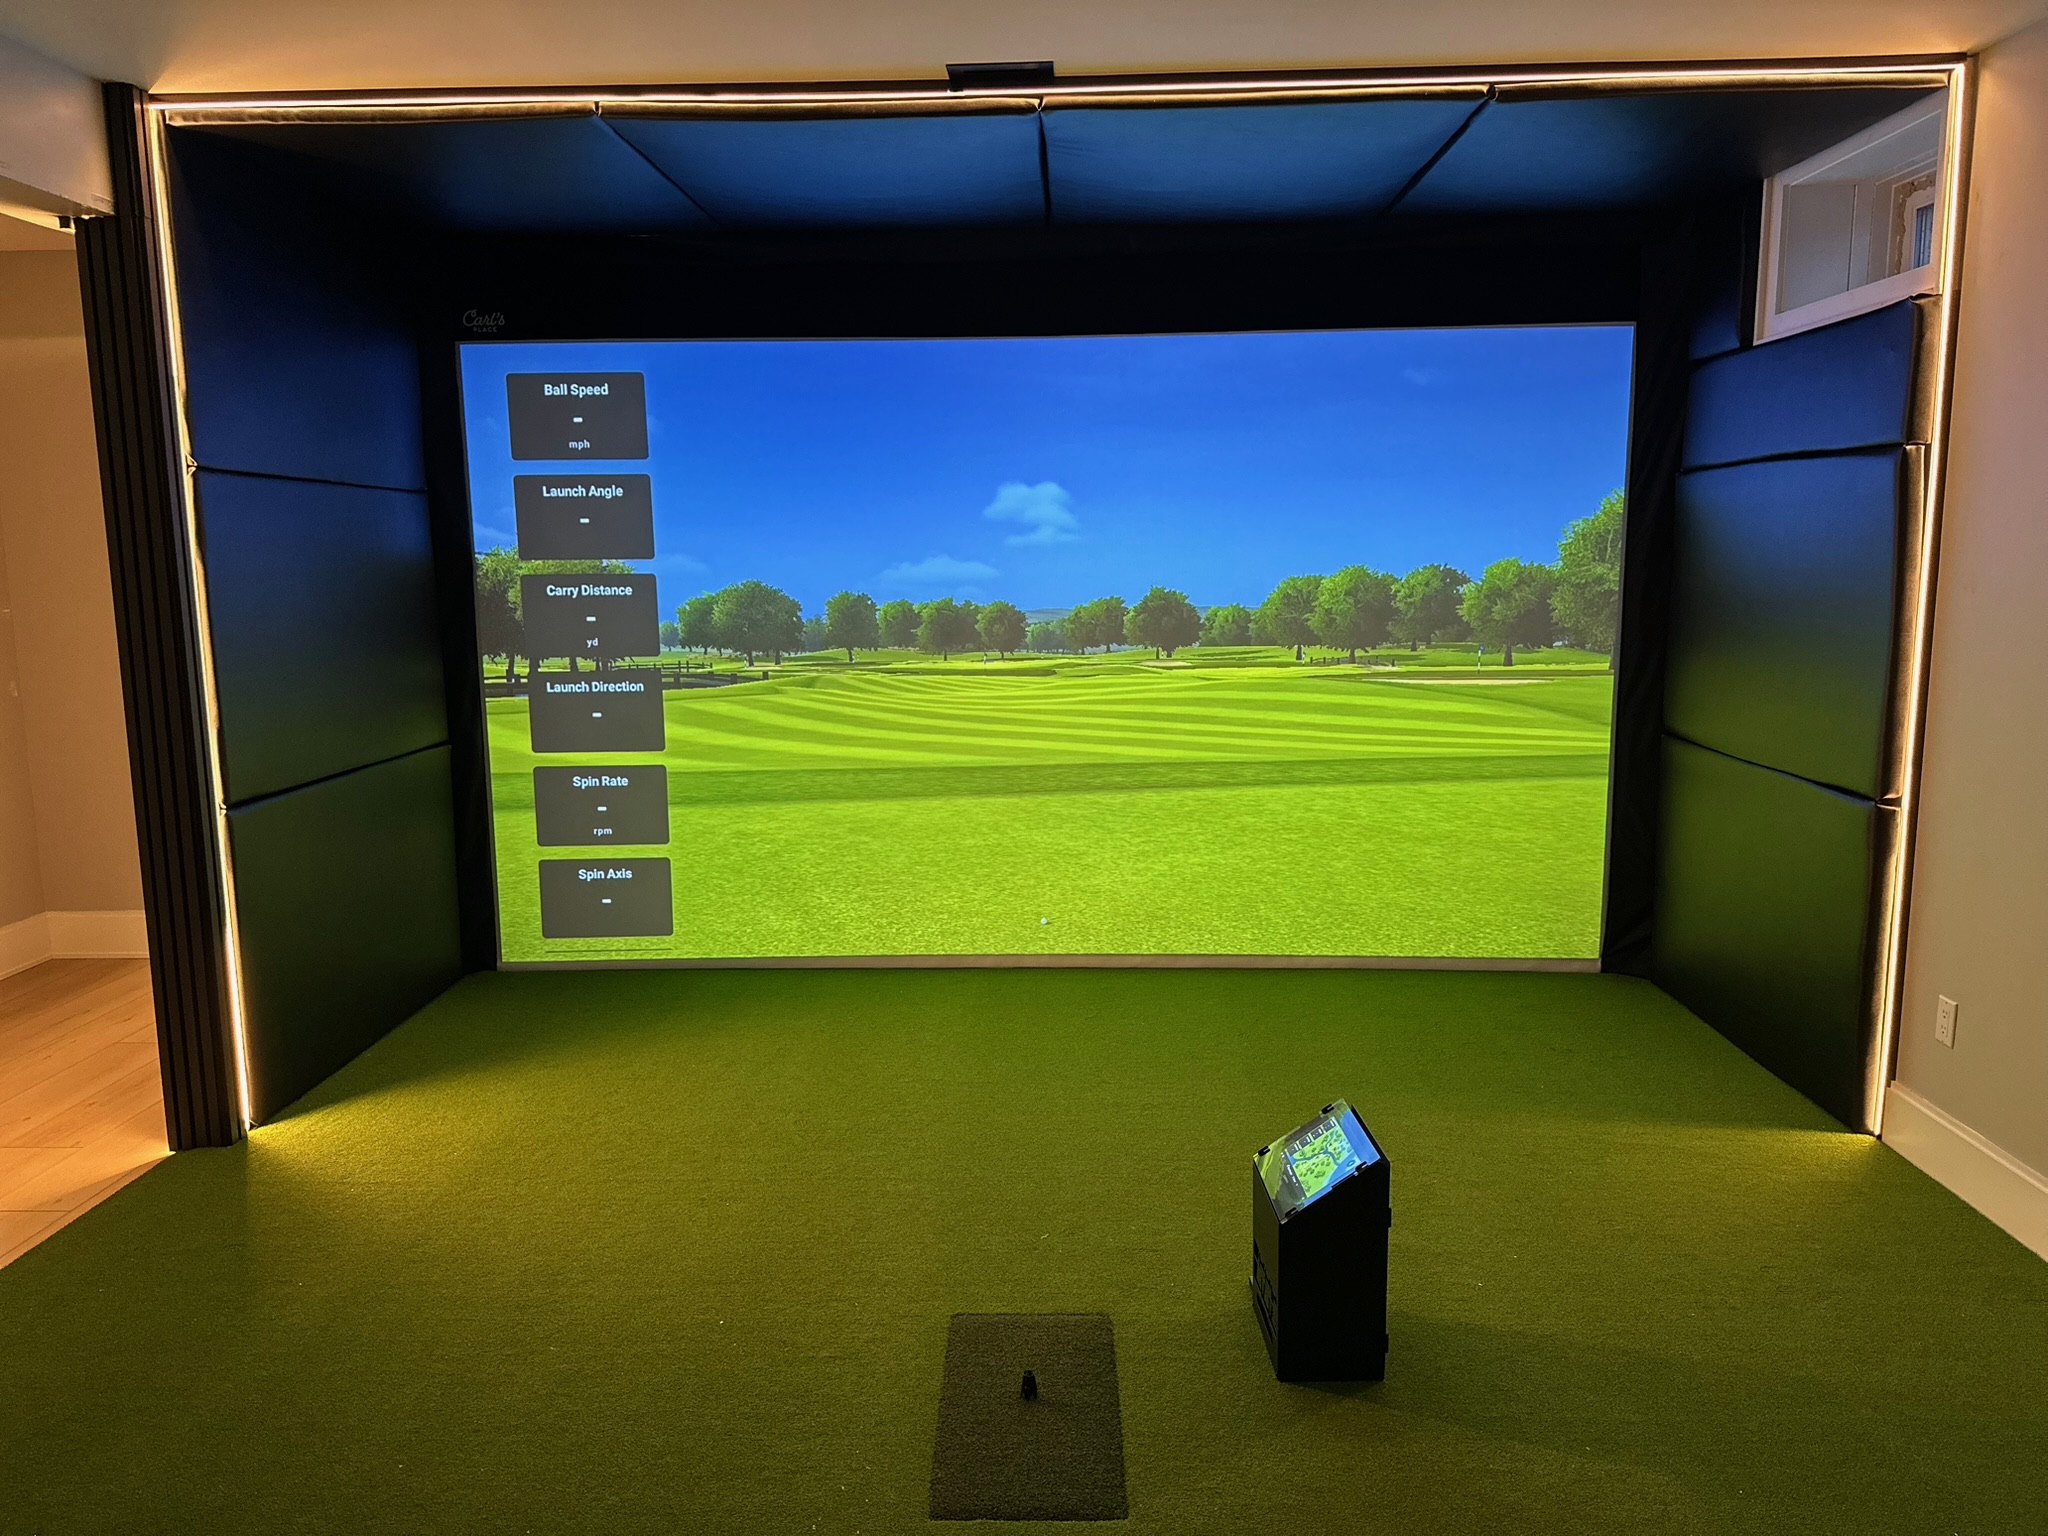
The finished room hits every note I was going for: professional look, functional setup, and a playing experience that actually improves your game. I play 3–4 rounds a week in here now. My handicap has dropped two strokes since the build.
Full Cost Breakdown
Here’s every dollar. No rounding, no leaving things out.
| Item | Brand / Model | Cost |
|---|---|---|
| Built-In Room Kit | Carl’s Place Premium Screen | $970 |
| Launch Monitor | Garmin Approach R50 | $4,500 (ebay coupon) |
| Turf | SynPro Golf Turf (15×14) | $530 |
| Hitting Strip | EZ Tee Hitting Strip | $150 |
| Side Padding | DIY via Hobby Lobby | $380 |
| Projector | Epson EB-L630U | $1000 |
| LED Lighting | Govee LED Strip (2× runs) | $78 |
| Framing lumber + hardware | Lowe’s | $145 |
| Club storage mounts | Amazon | $65 |
| Misc (cables, mounts, tape) | Various | $47 |
| Foam floor tiles | Harbor Freight | $60 |
| Total | $7,925 |
What I’d Do Differently
- Measure once. Measure, measure again, and then ask someone else to check your measurements!
- Do the LED lighting from the start. Running the strips after the enclosure was installed meant working in tight spaces. 20 minutes of planning up front saves 2 hours later.
- Get the projector ceiling mount before the screen goes in. Mount placement matters more than I expected — doing that math before the screen is hung is much easier.
- The wall padding was worth the blood sweat and tears. It’s the detail that makes the room feel finished rather than just functional.
Final Verdict
This is the best home improvement project I’ve ever done. Full stop. The golf simulator gets used 3–4× per week. My game has measurably improved. My kids use it. My friends ask to come over specifically to play. The $7,925 I spent on this has generated more value than almost anything else I’ve put money into in this house.
If you’re on the fence — do it. Do your homework on the launch monitor, go built-in if you have the ceiling height, and document everything as you go.
Full Gear List
- Carl’s Place Built-In Room Kit — enclosure, impact screen, baffles
- Garmin Approach R50 — launch monitor
- SynPro Golf Turf — floor covering
- Ex Tee Hitting Strip — hitting surface
- Carl’s Place Side Padding — wall protection
- Optoma ZH406ST Projector — short-throw projector
- Govee LED Strip Lights — ambient lighting
Questions about the build? Drop them in the comments below or reach out directly. Happy to go deeper on any phase.